
Ultrasonic Level Meter Installation Guide: 5 Steps to Achieve Accurate and Reliable Tank Monitoring
2026-03-17
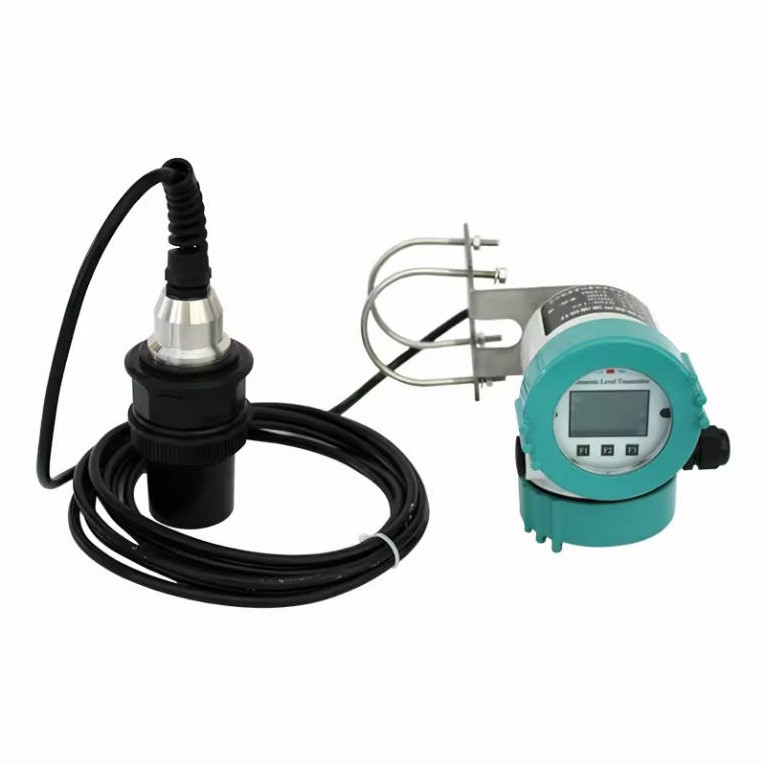
Ultrasonic level meters are widely recognized as a non-contact, low-maintenance solution for tank and basin level measurement. However, even the most advanced device can fail if installed incorrectly. Poor setup often leads to false readings, signal loss, and unnecessary downtime.
This guide breaks down 5 critical installation steps to ensure optimal performance—along with practical solutions that eliminate common challenges and reduce operational risk.
Step 1: Choose the Right Installation Position (Avoid Dead Zones)
Best Practice:
Install the transducer 2–3 feet above the maximum liquid level, ensuring a clear, unobstructed path to the surface.
Common Mistakes:
-
Mounting too close to tank walls
-
Installing near ladders, pipes, or agitators
-
Ignoring internal obstructions
These mistakes can create false echoes, leading to incorrect high-level readings.
Optimization Insight:
Using a meter with a narrow beam angle and intelligent echo filtering significantly reduces interference. Even in less-than-ideal environments, stable readings can still be achieved.
Result:
More flexible installation options without sacrificing accuracy.
Step 2: Ensure Precise Alignment (Accuracy Starts Here)
Best Practice:
Use a spirit level to keep the transducer perfectly horizontal. Even a tilt greater than 5° can distort measurement signals.
Common Mistakes:
-
Relying on visual alignment
-
Skipping leveling tools
-
Ignoring mounting surface irregularities
These errors can result in 10–20% measurement deviation.
Optimization Insight:
Modern ultrasonic level meters often include:
-
Built-in bubble level indicators
-
Mobile-based alignment tools (e.g., laser apps)
Result:
Fast, precise alignment within minutes—no specialized tools required.
Step 3: Use Proper Wiring to Prevent Signal Interference
Best Practice:
-
Use shielded twisted-pair cables
-
Keep cables away from high-voltage power lines
-
Seal connections with IP68-rated cable glands
Common Mistakes:
-
Using low-quality or unshielded cables
-
Poor grounding practices
-
Inadequate waterproofing
These issues often cause signal instability or data loss, especially in outdoor or industrial environments.
Optimization Insight:
High-quality installations use:
-
Industrial-grade shielded cables
-
Certified waterproof connectors
-
Pre-configured wiring kits
Result:
Stable signal transmission—even in harsh conditions like rain, humidity, or chemical exposure.
Step 4: Perform Proper Calibration (Don’t Skip This Step)
Best Practice:
-
Input tank dimensions (height, diameter)
-
Run a dry calibration to define the blind zone
Common Mistakes:
-
Relying on factory default settings
-
Ignoring irregular tank shapes
-
Skipping calibration entirely
This can lead to systematic measurement errors, especially in non-standard tanks.
Optimization Insight:
Advanced controllers now support:
-
Automatic tank shape recognition (cylindrical, conical, rectangular)
-
Preloaded configuration templates
Result:
Calibration time reduced from hours to minutes, with higher accuracy.
Step 5: Test Under Real Operating Conditions
Best Practice:
-
Gradually fill the tank
-
Compare readings with manual measurement (e.g., dipstick)
-
Adjust sensitivity for foam, vapor, or dust
Common Mistakes:
-
Assuming initial readings are always correct
-
Ignoring environmental changes (temperature, pressure)
Since ultrasonic measurement depends on sound velocity in air, temperature variations can affect accuracy.
Optimization Insight:
Look for systems with:
-
Dynamic temperature compensation
-
Self-diagnostic functions (e.g., maintenance alerts)
Result:
Consistent, reliable performance across seasons and operating conditions.
Why Proper Installation Matters (Business Impact)
Correct installation is not just a technical detail—it directly affects operational efficiency and cost control.
Real-world benefits include:
-
Reduced unplanned downtime caused by inaccurate readings
-
Faster commissioning and calibration
-
Lower maintenance and service costs
-
Improved process reliability
For example, optimized installations have helped facilities:
-
Eliminate repeated shutdowns
-
Reduce calibration time by over 70%
-
Save thousands annually in maintenance expenses
Conclusion
Ultrasonic level meters can deliver highly accurate, maintenance-free level measurement, but only when installed correctly. By following these five essential steps—proper positioning, precise alignment, reliable wiring, accurate calibration, and real-condition testing—you can unlock their full potential.
If you need professional advice or product recommendations, feel free to contact us anytime.
Share To:
Next Post:
News
- Why is the thermal gas mass flowmeter not affected by pressure strength and temperature?
- What to do when a thermal gas mass flow meter fails?
- How are thermal gas mass flow meters used? What are the applications?
- Under what circumstances is the gas measurement need to be regulated compensated vortex flowmeter
- Why Is The Aister Thermal Gas Mass Flowmeter So Popular ?
- Gas turbine flowmeter manufacturers explain their main advantages in measurement
- Gas turbine flowmeter manufacturer Aister instrument field experience summary
- Aister Instrument Empowerment Conference