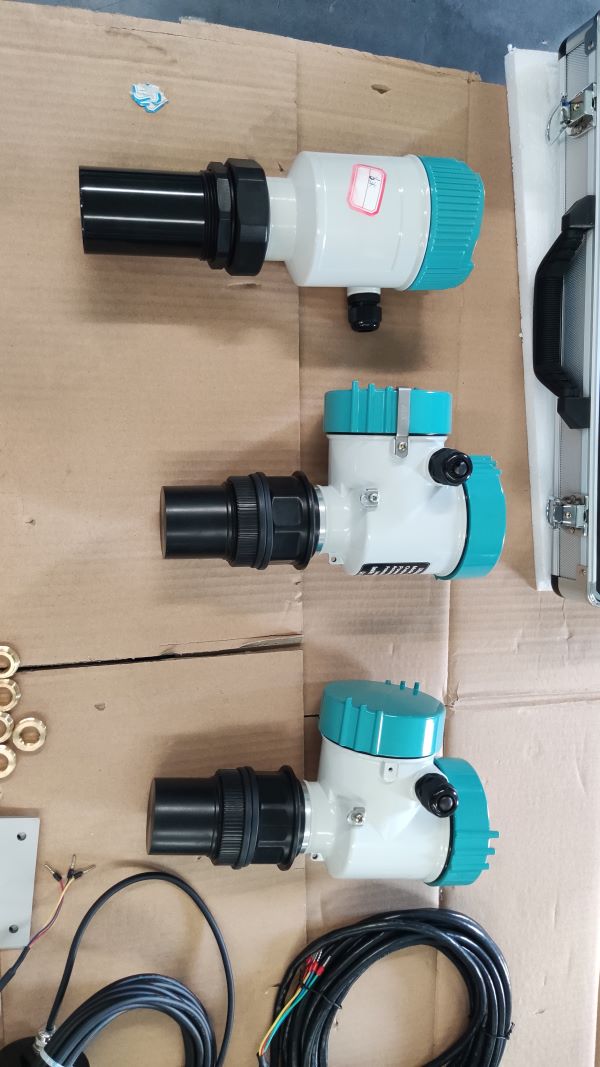
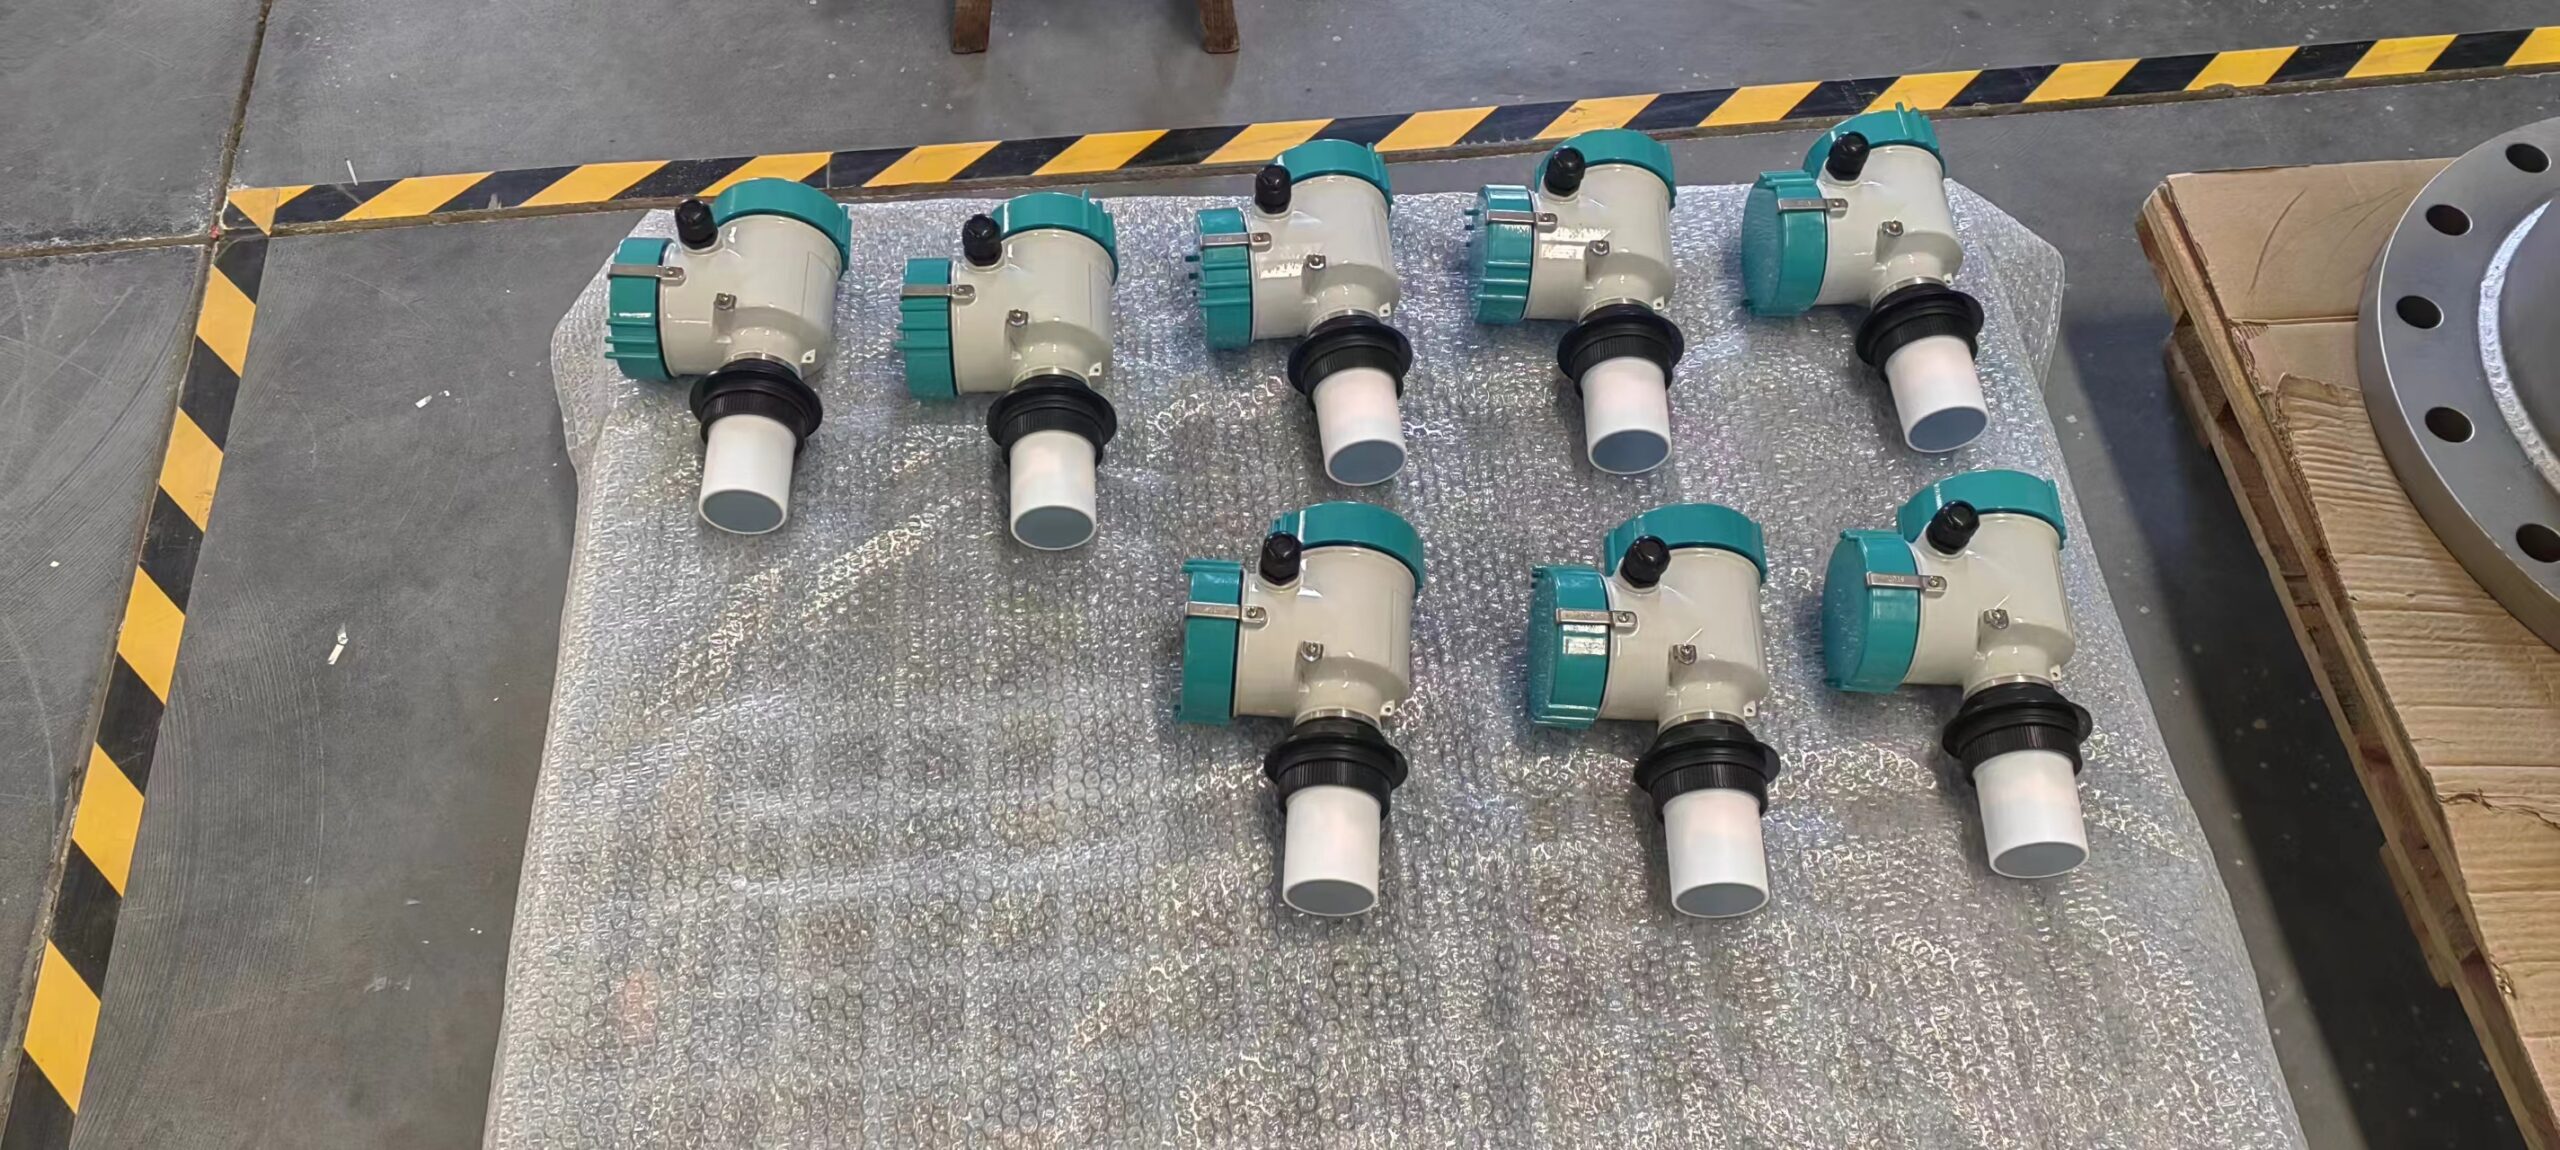
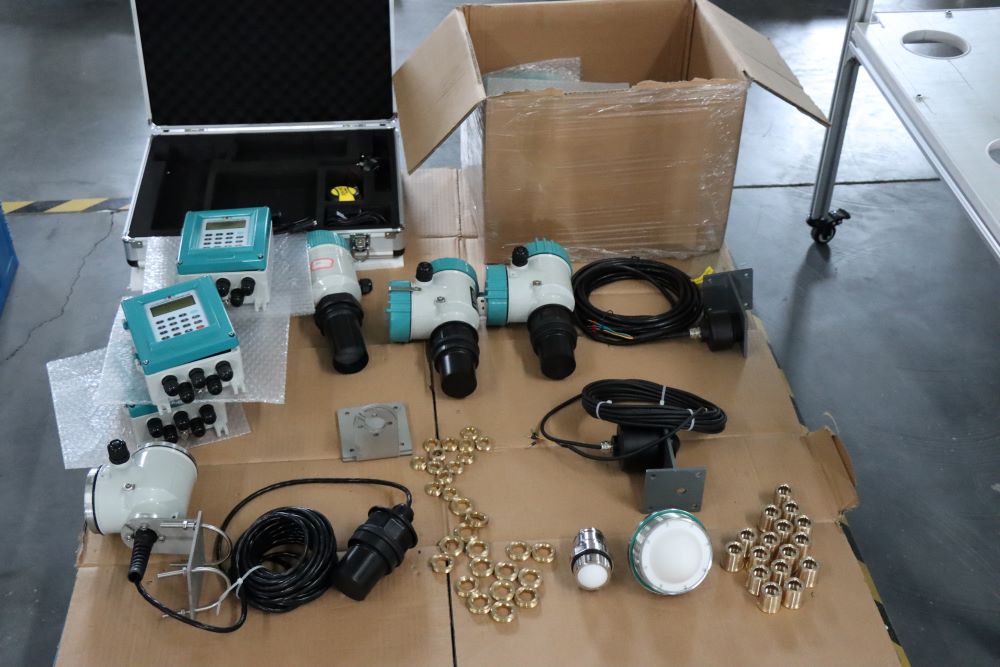
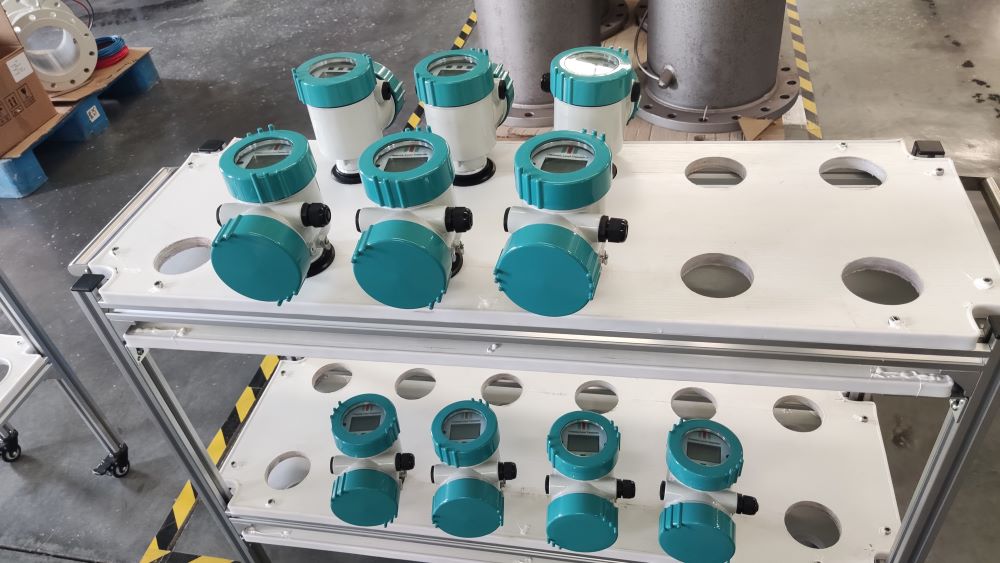
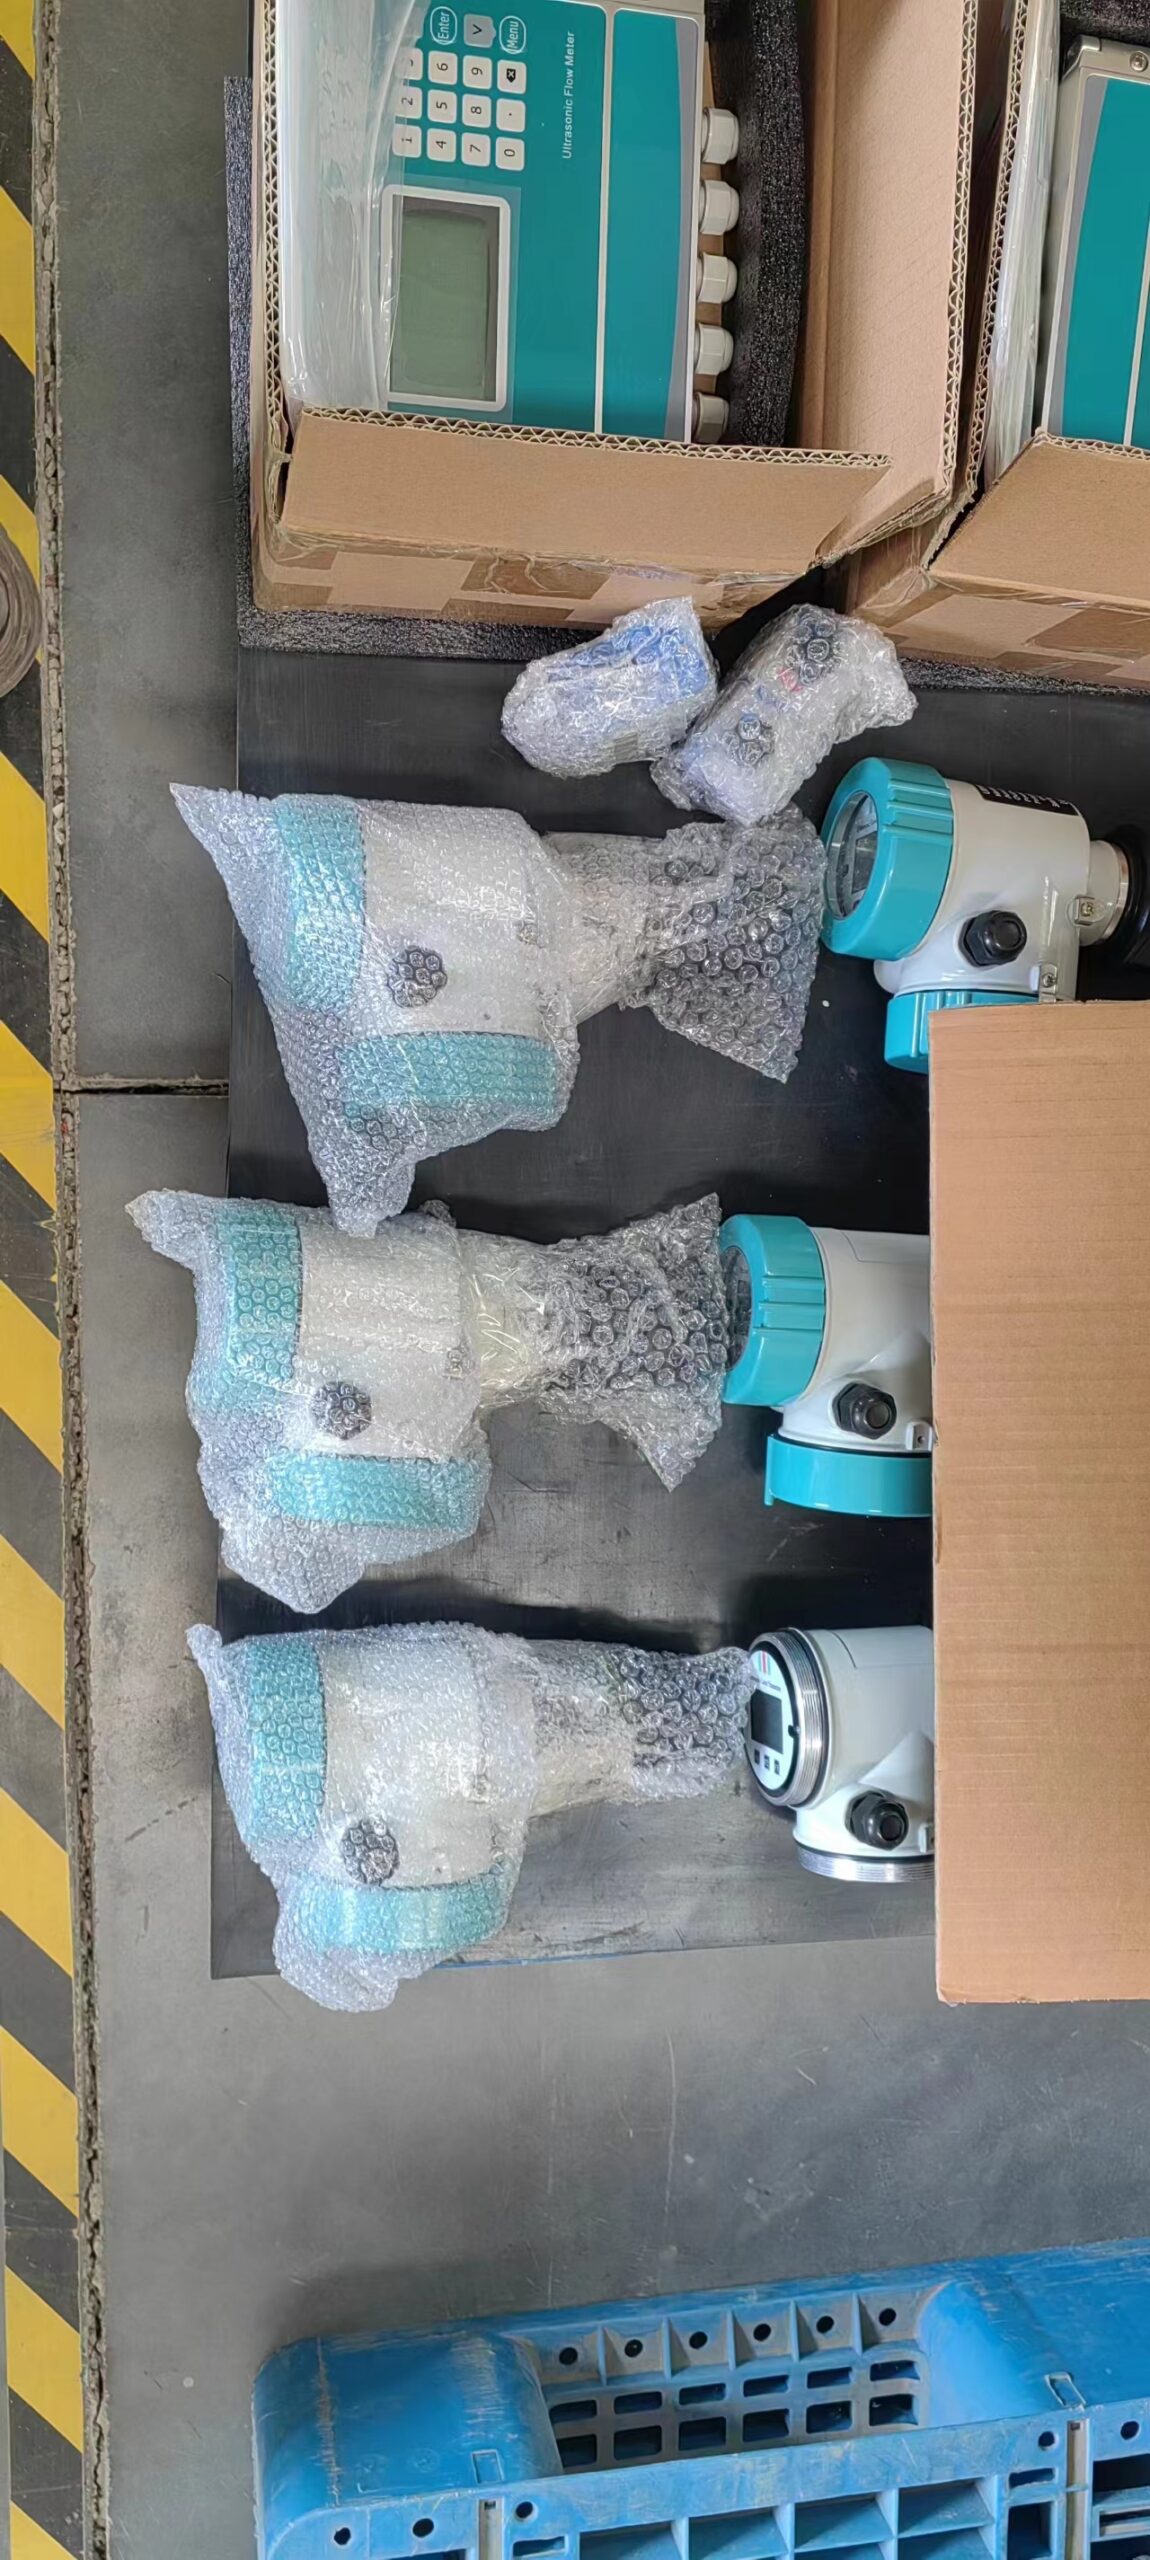
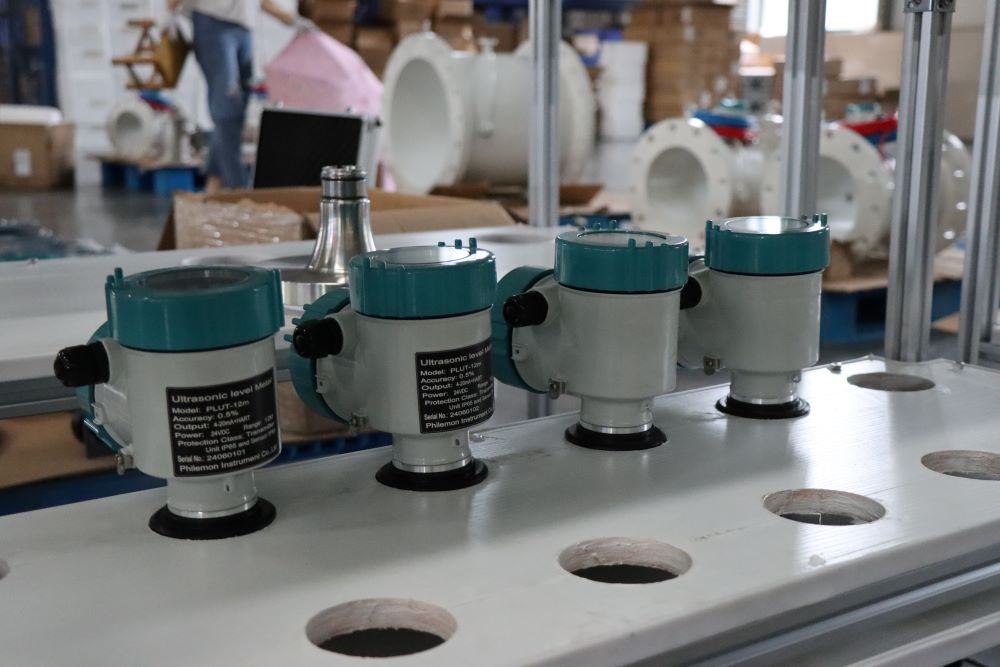
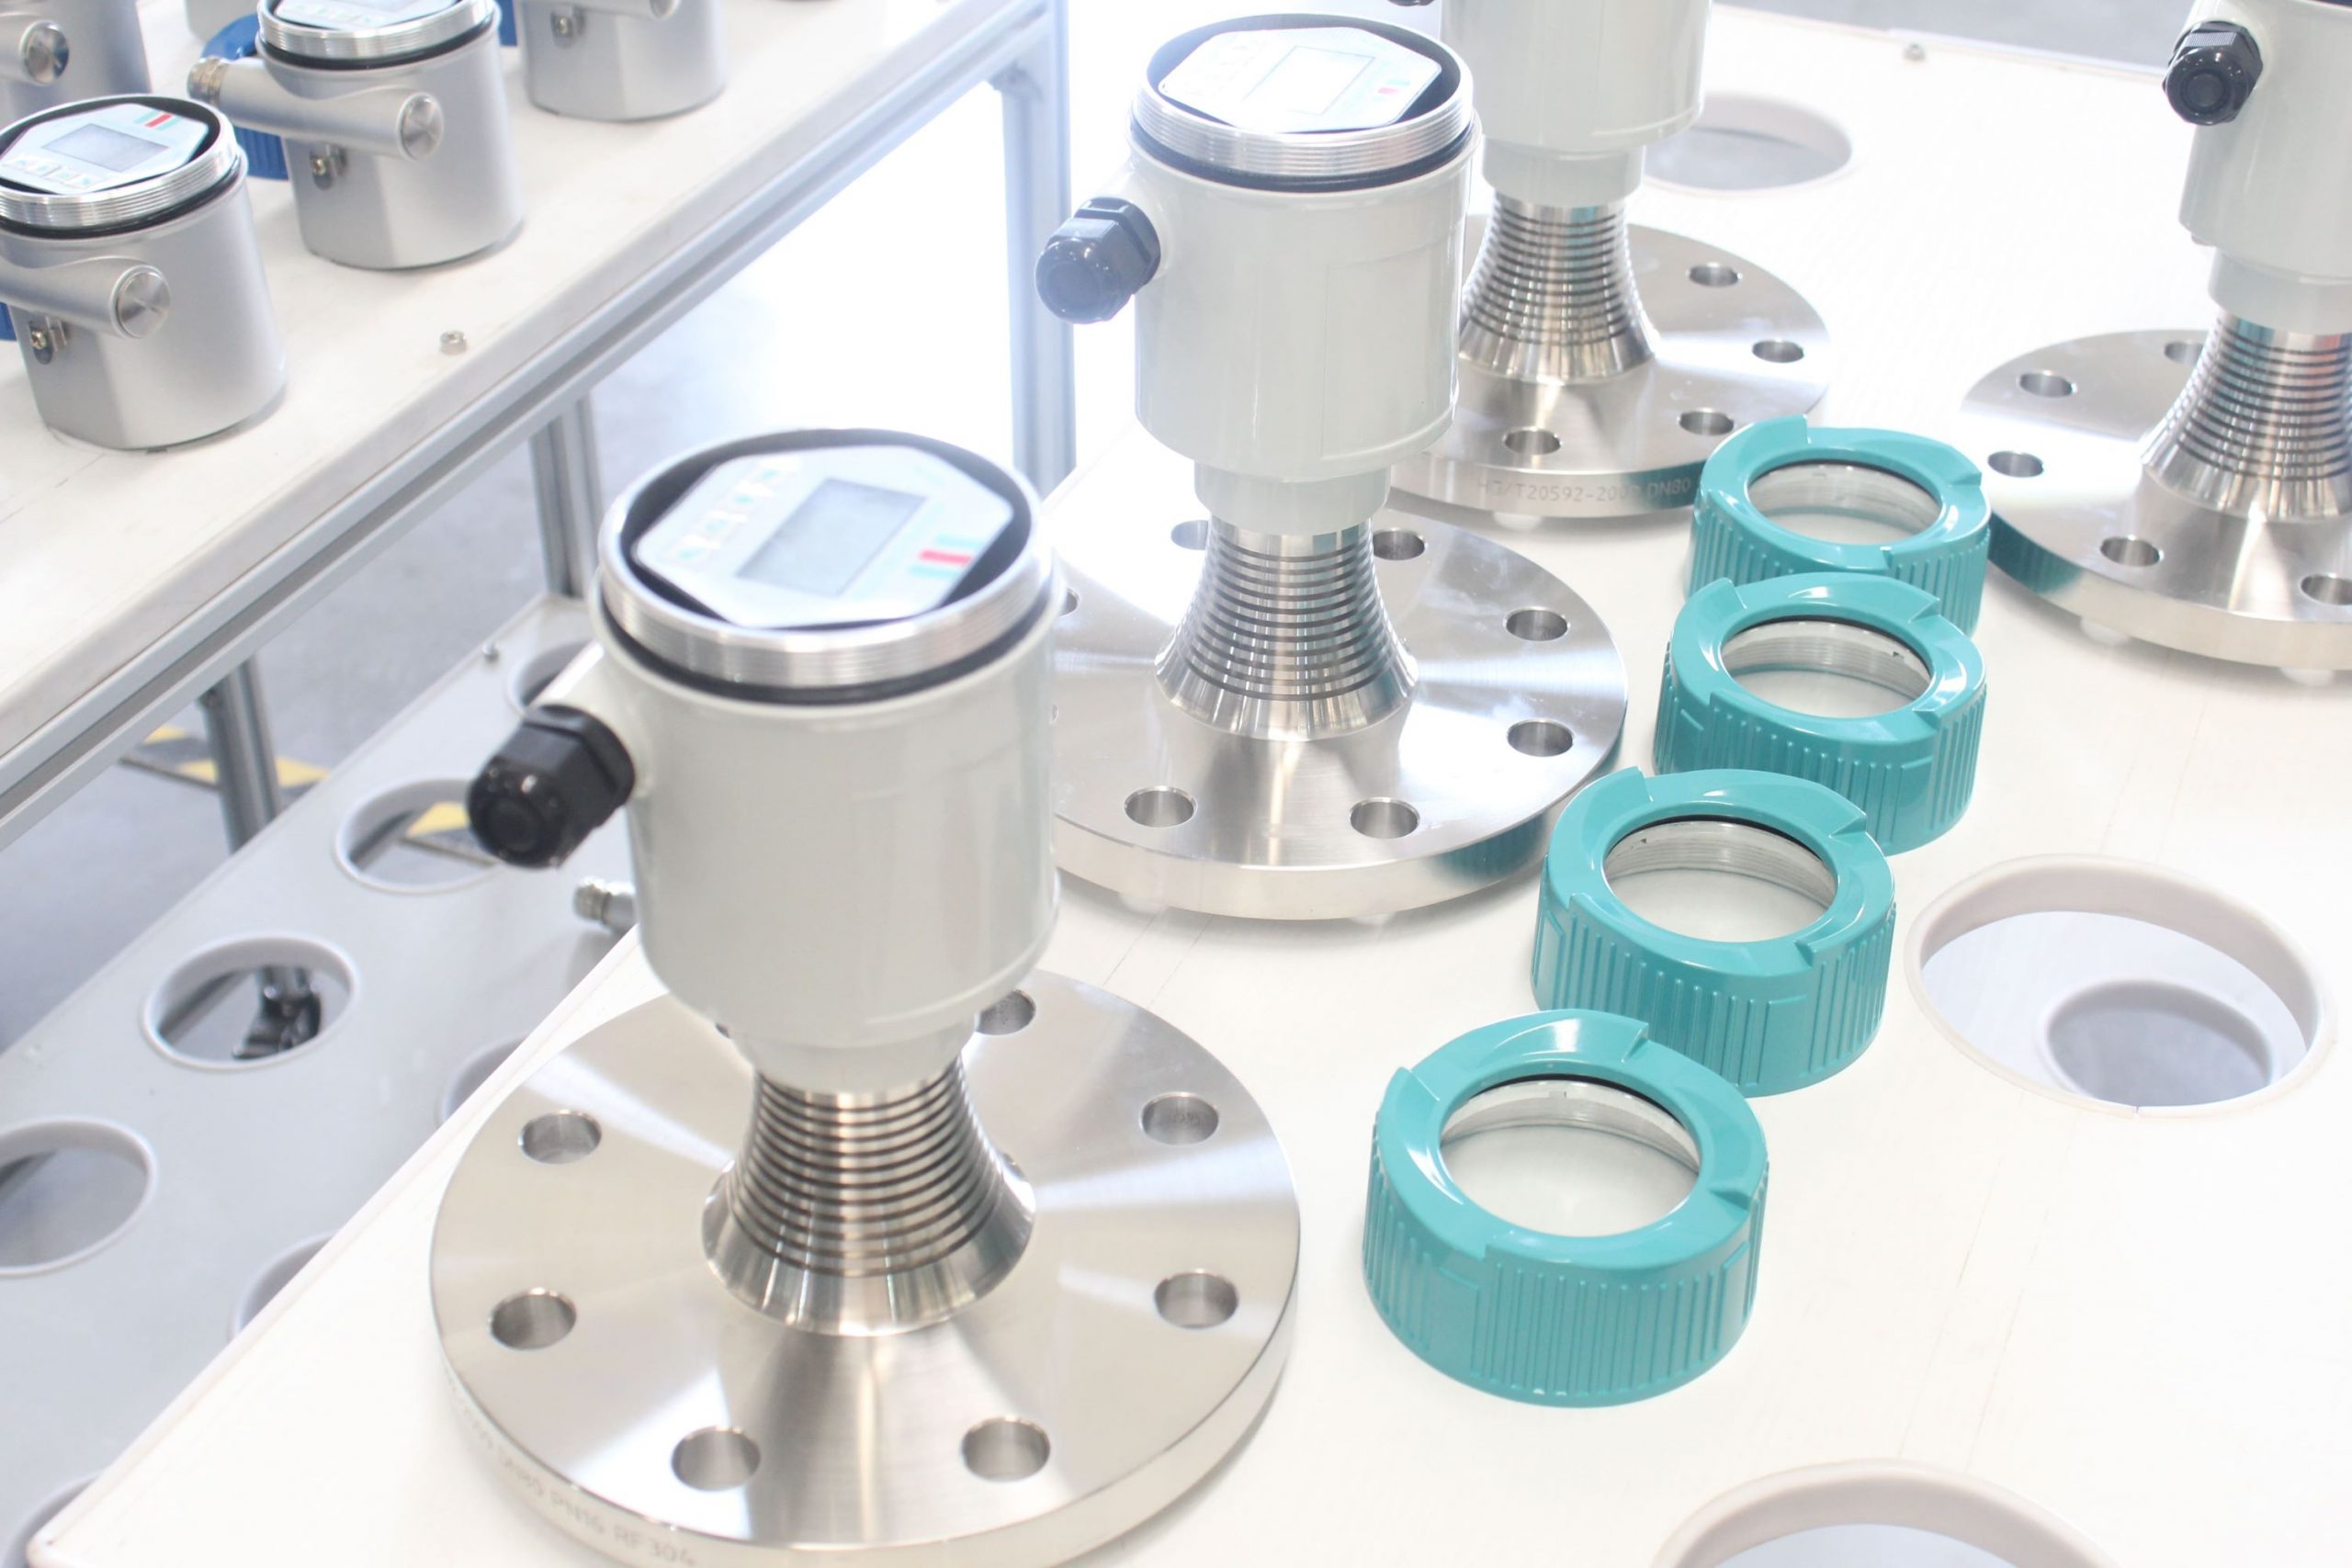
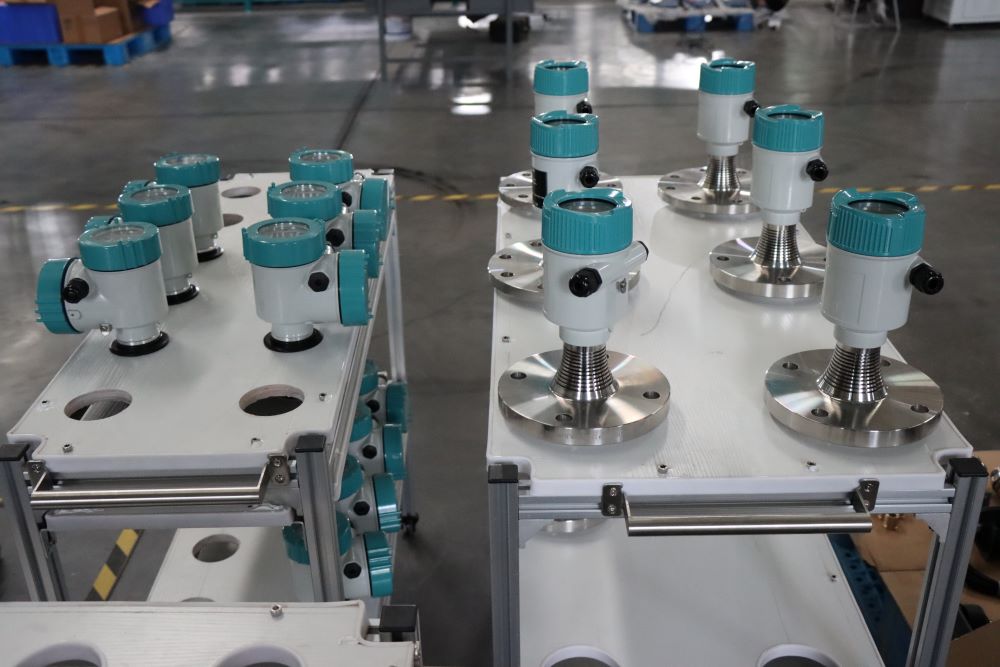
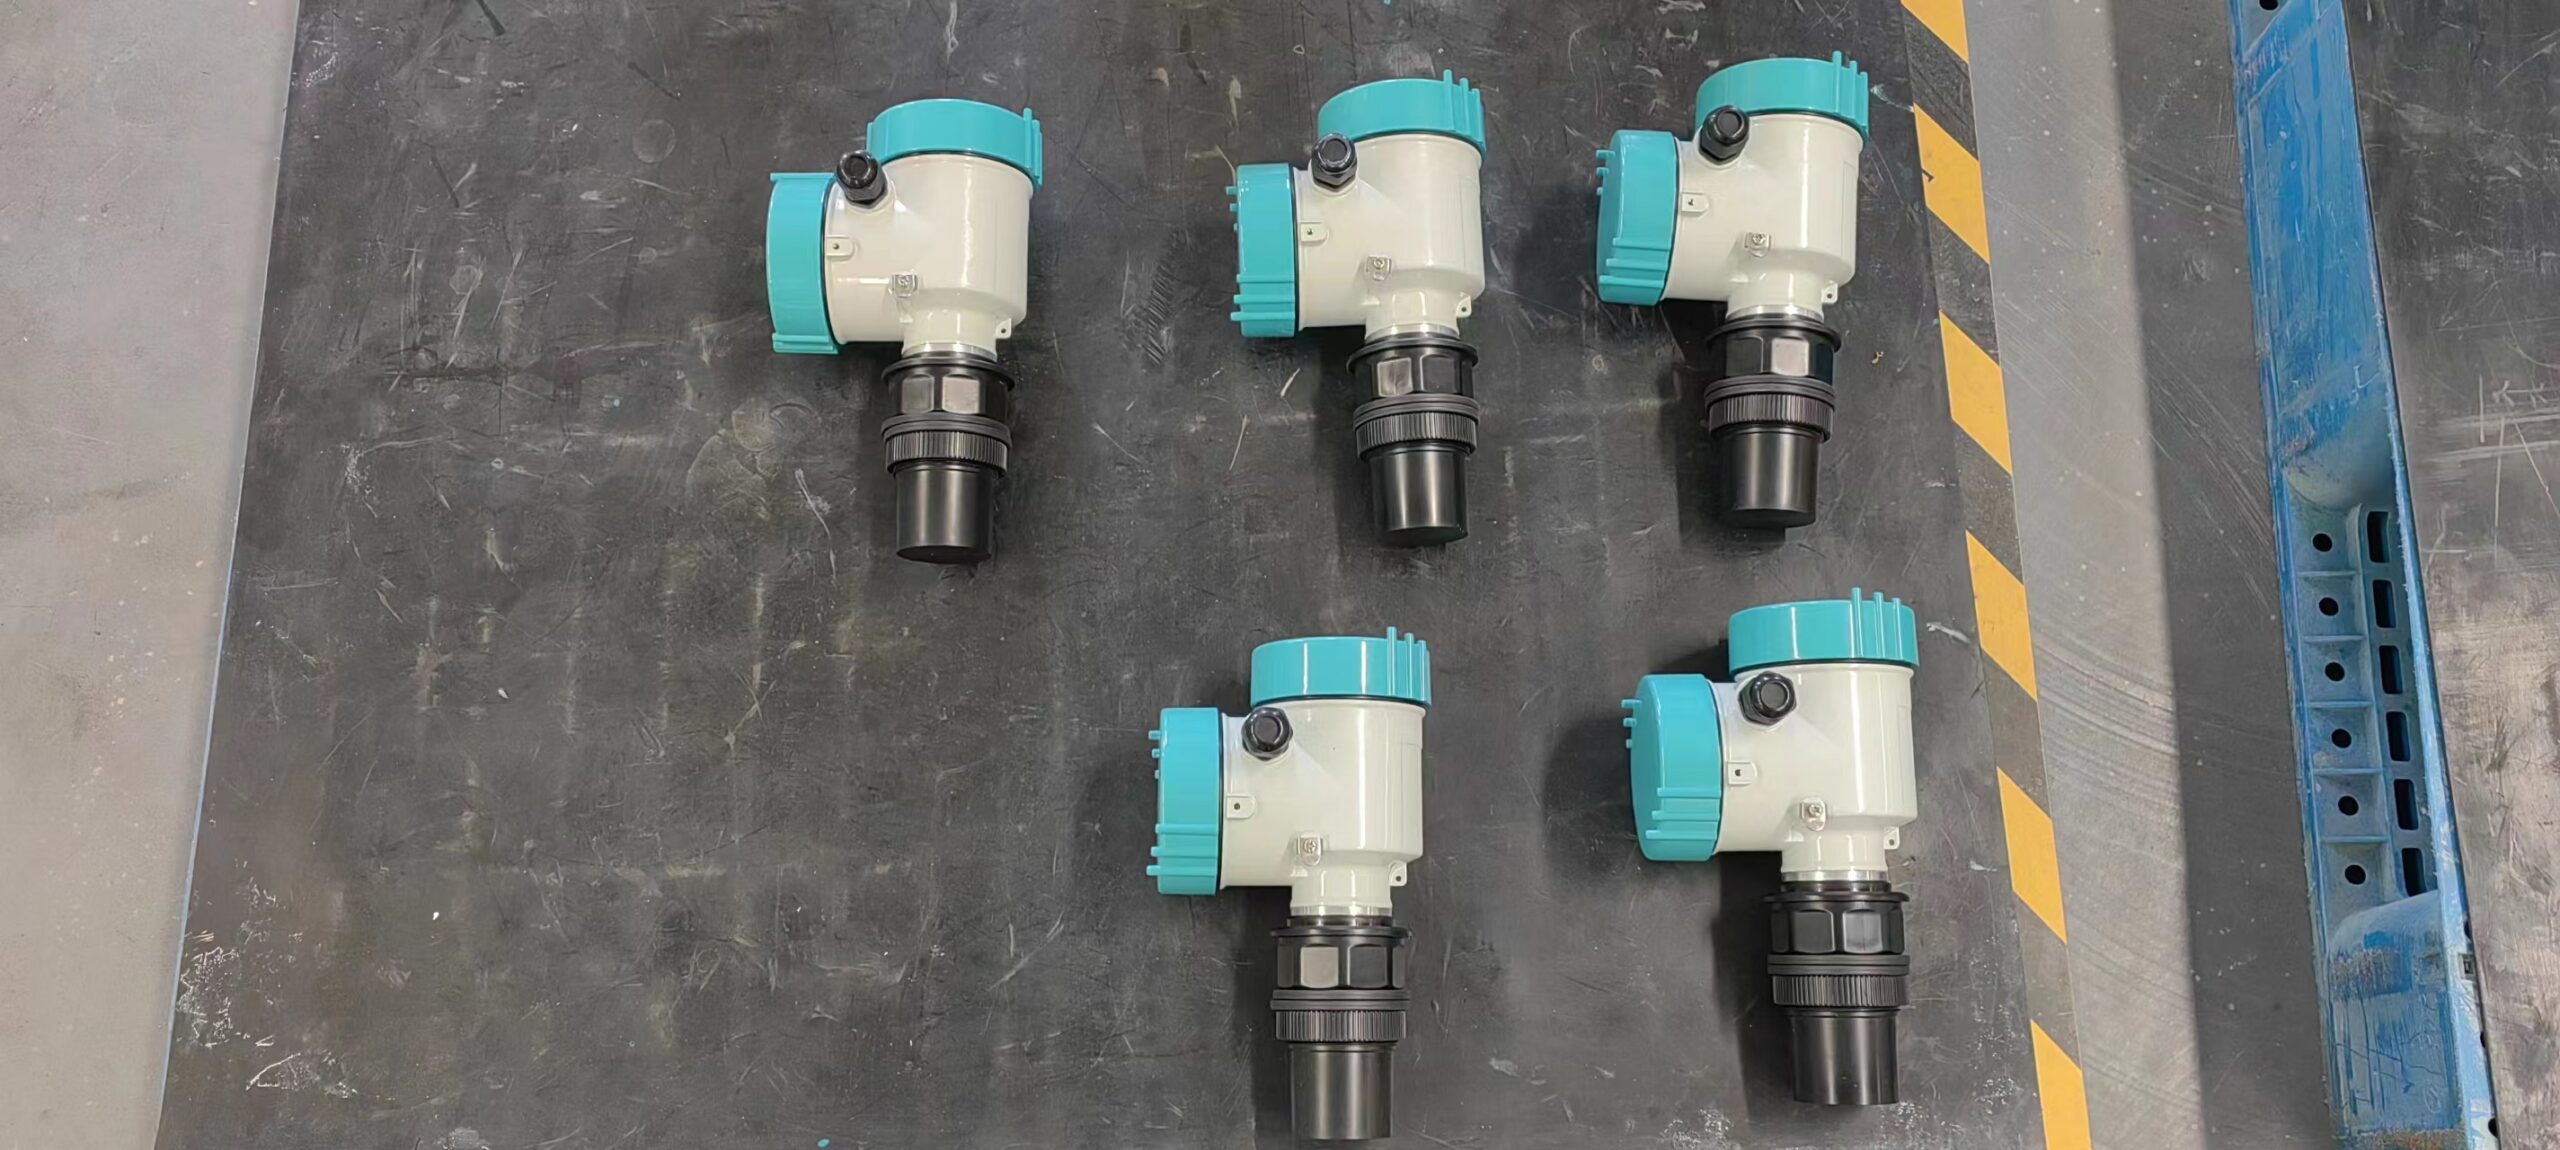
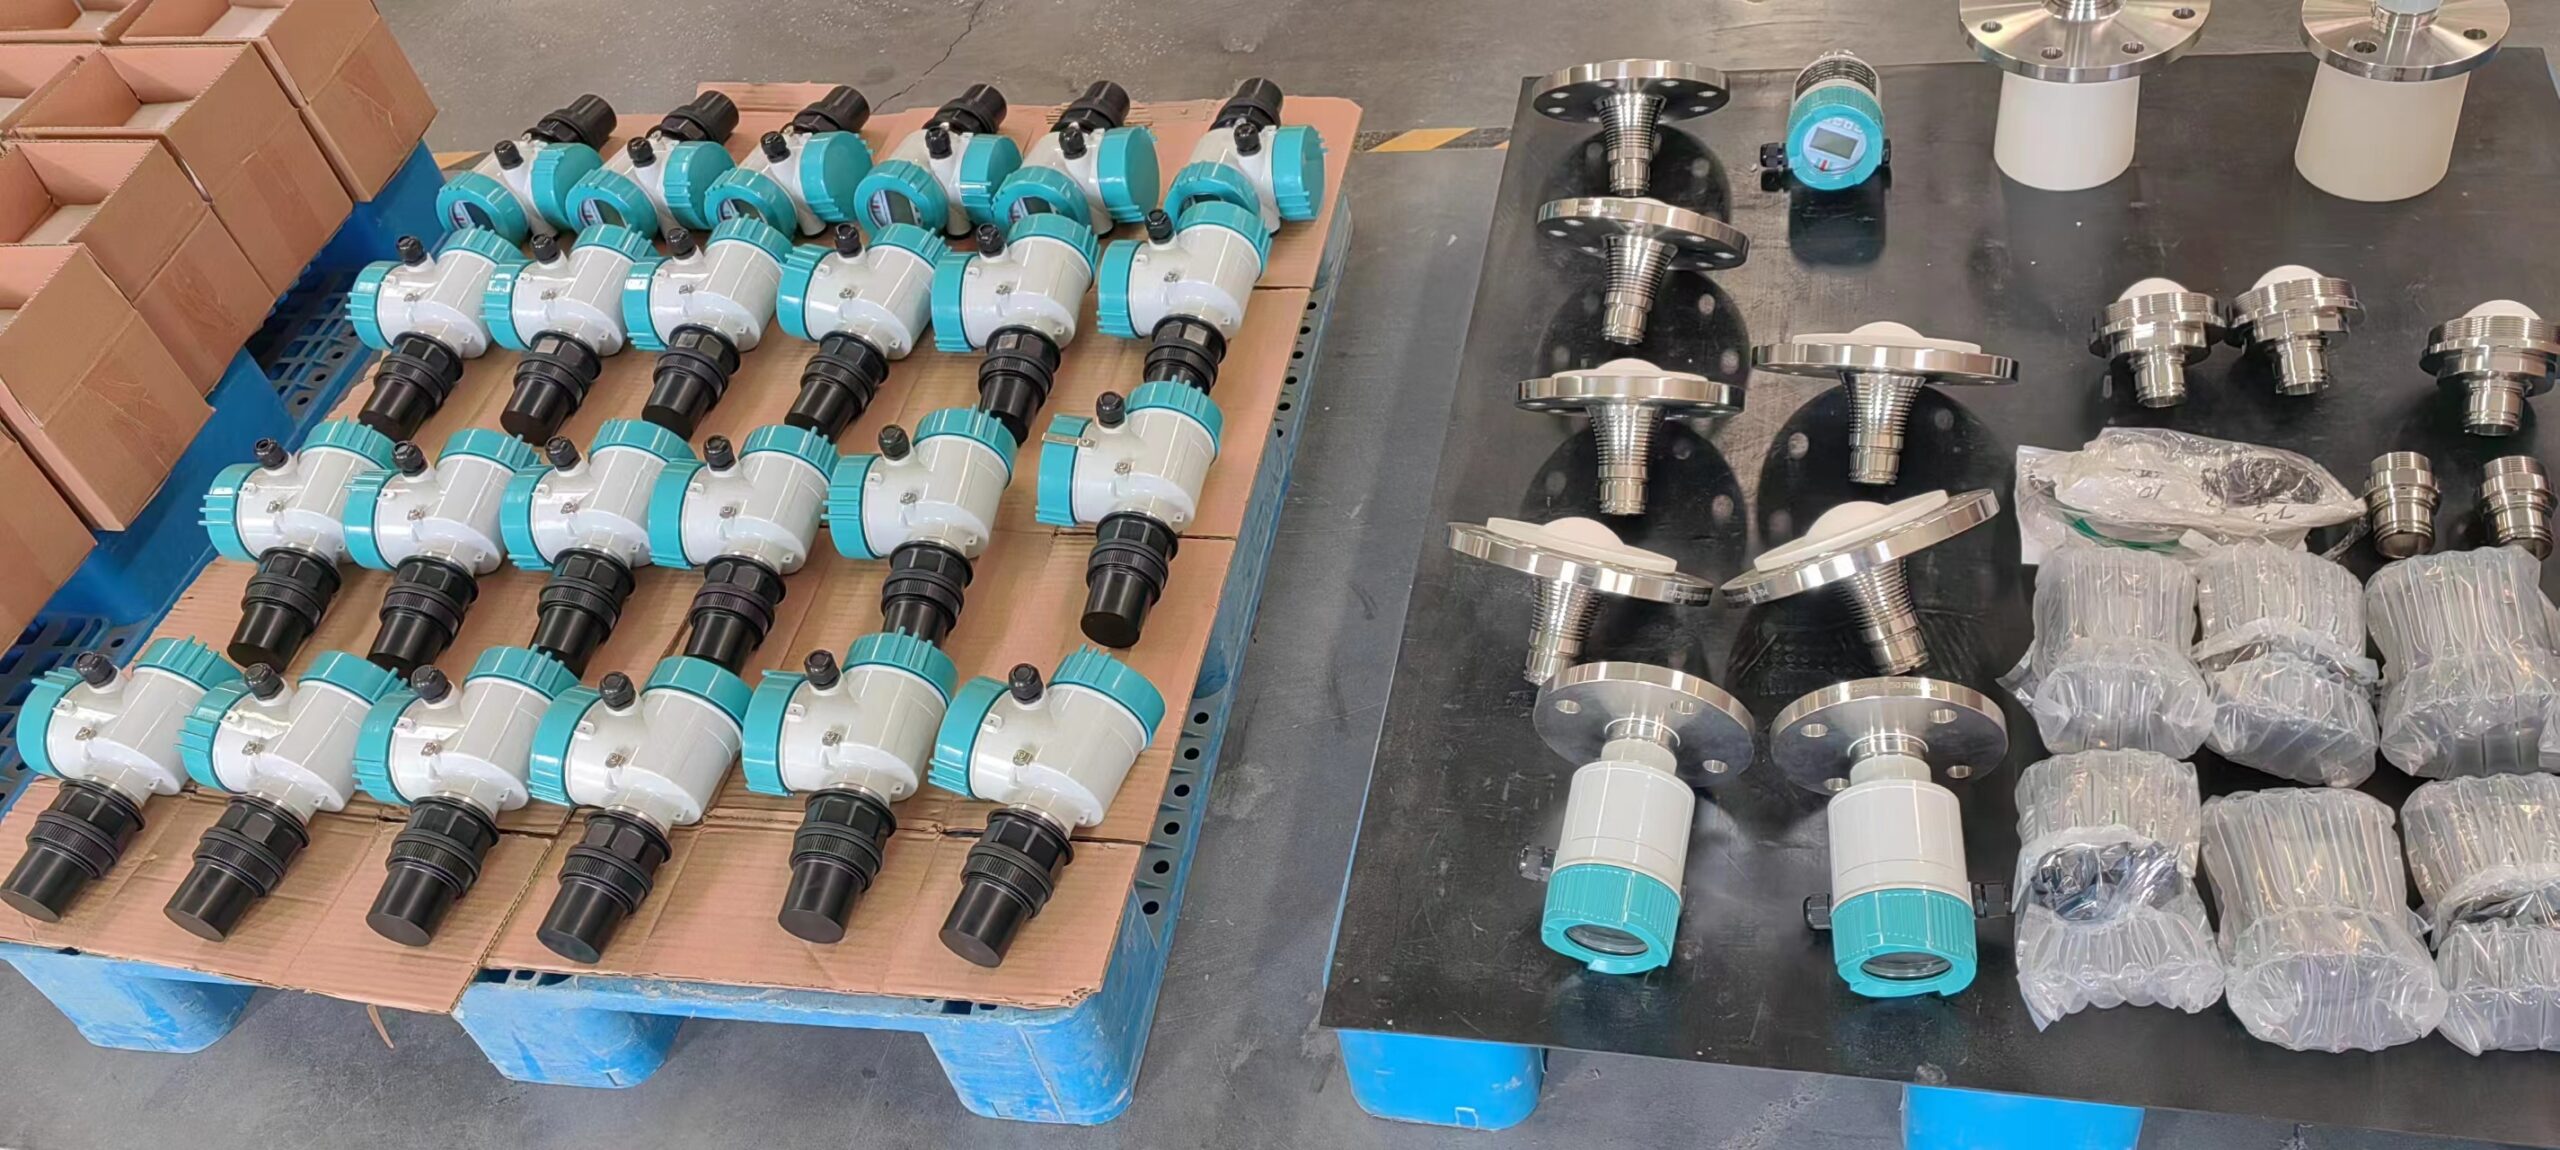
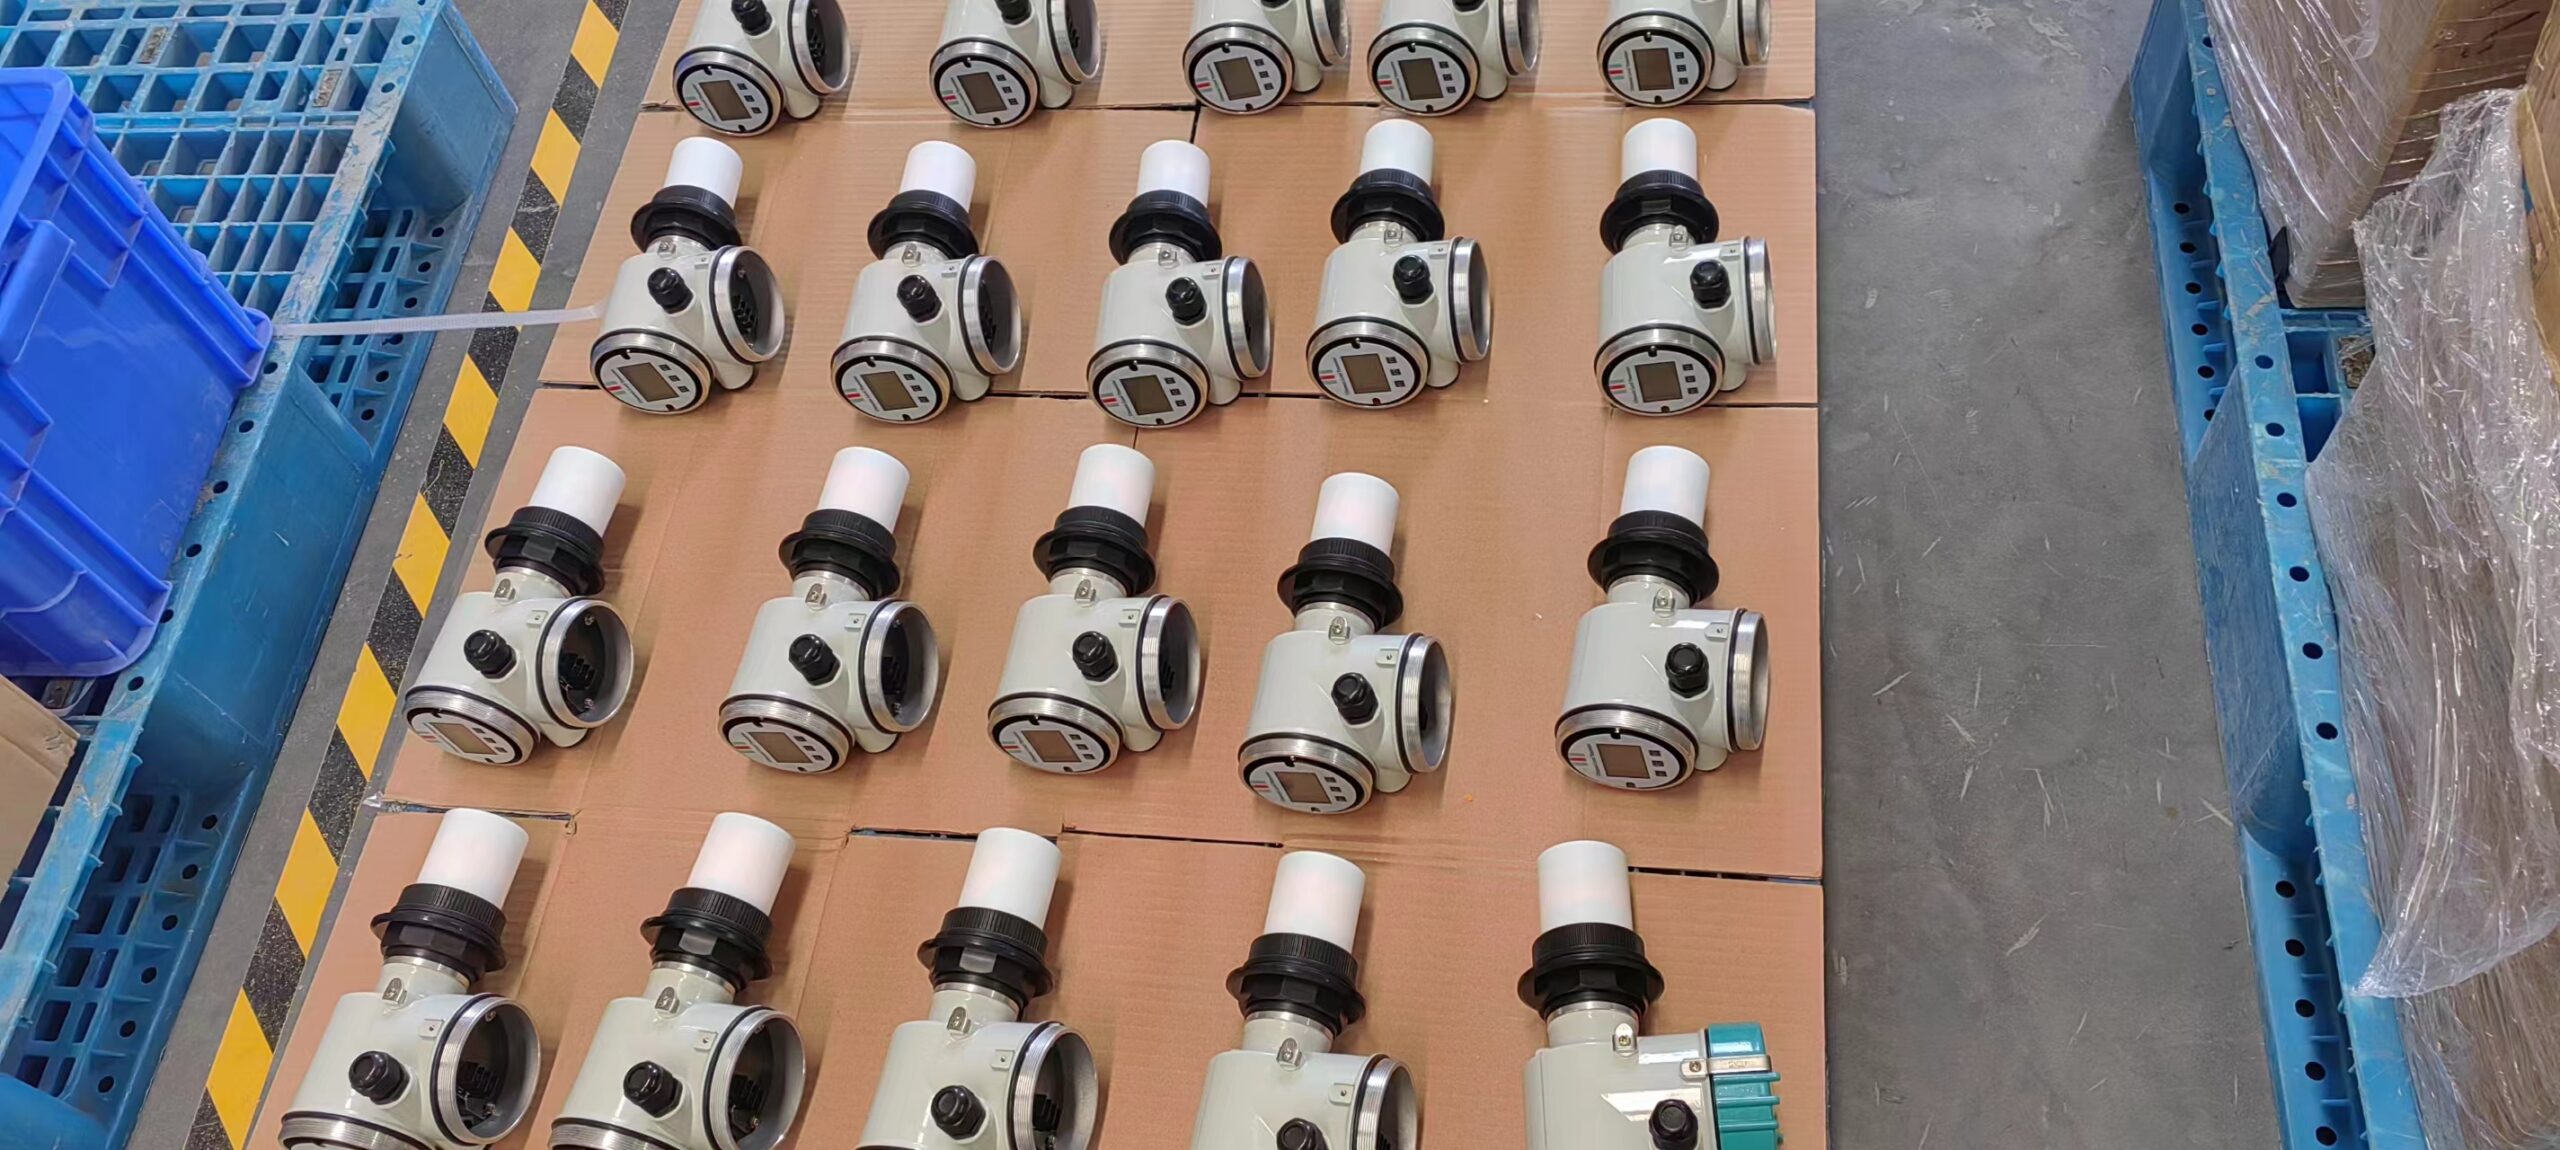
What are the installation points of ultrasonic level meter?
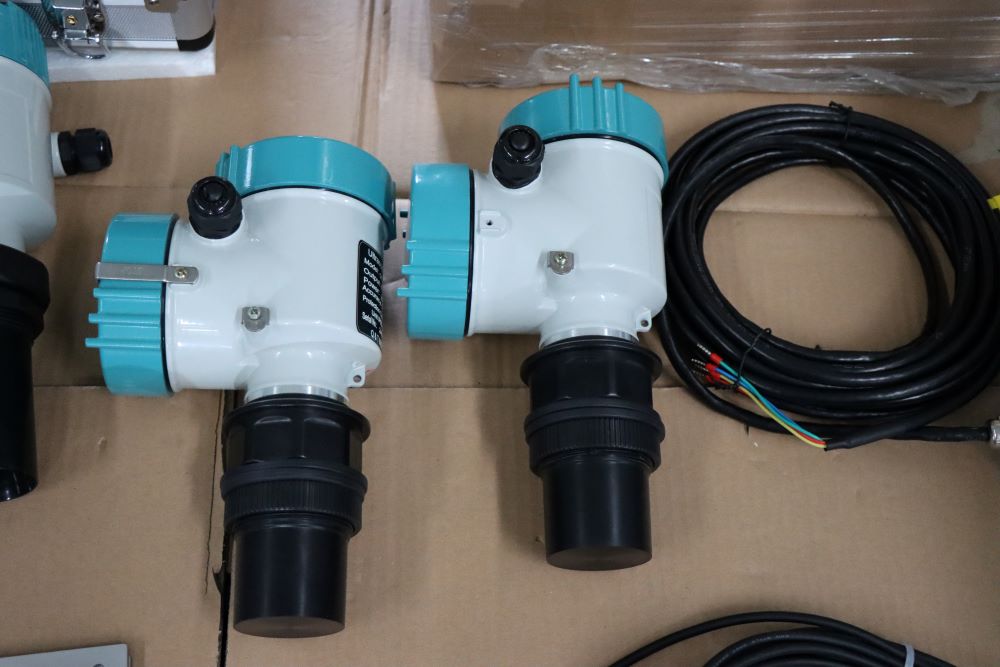
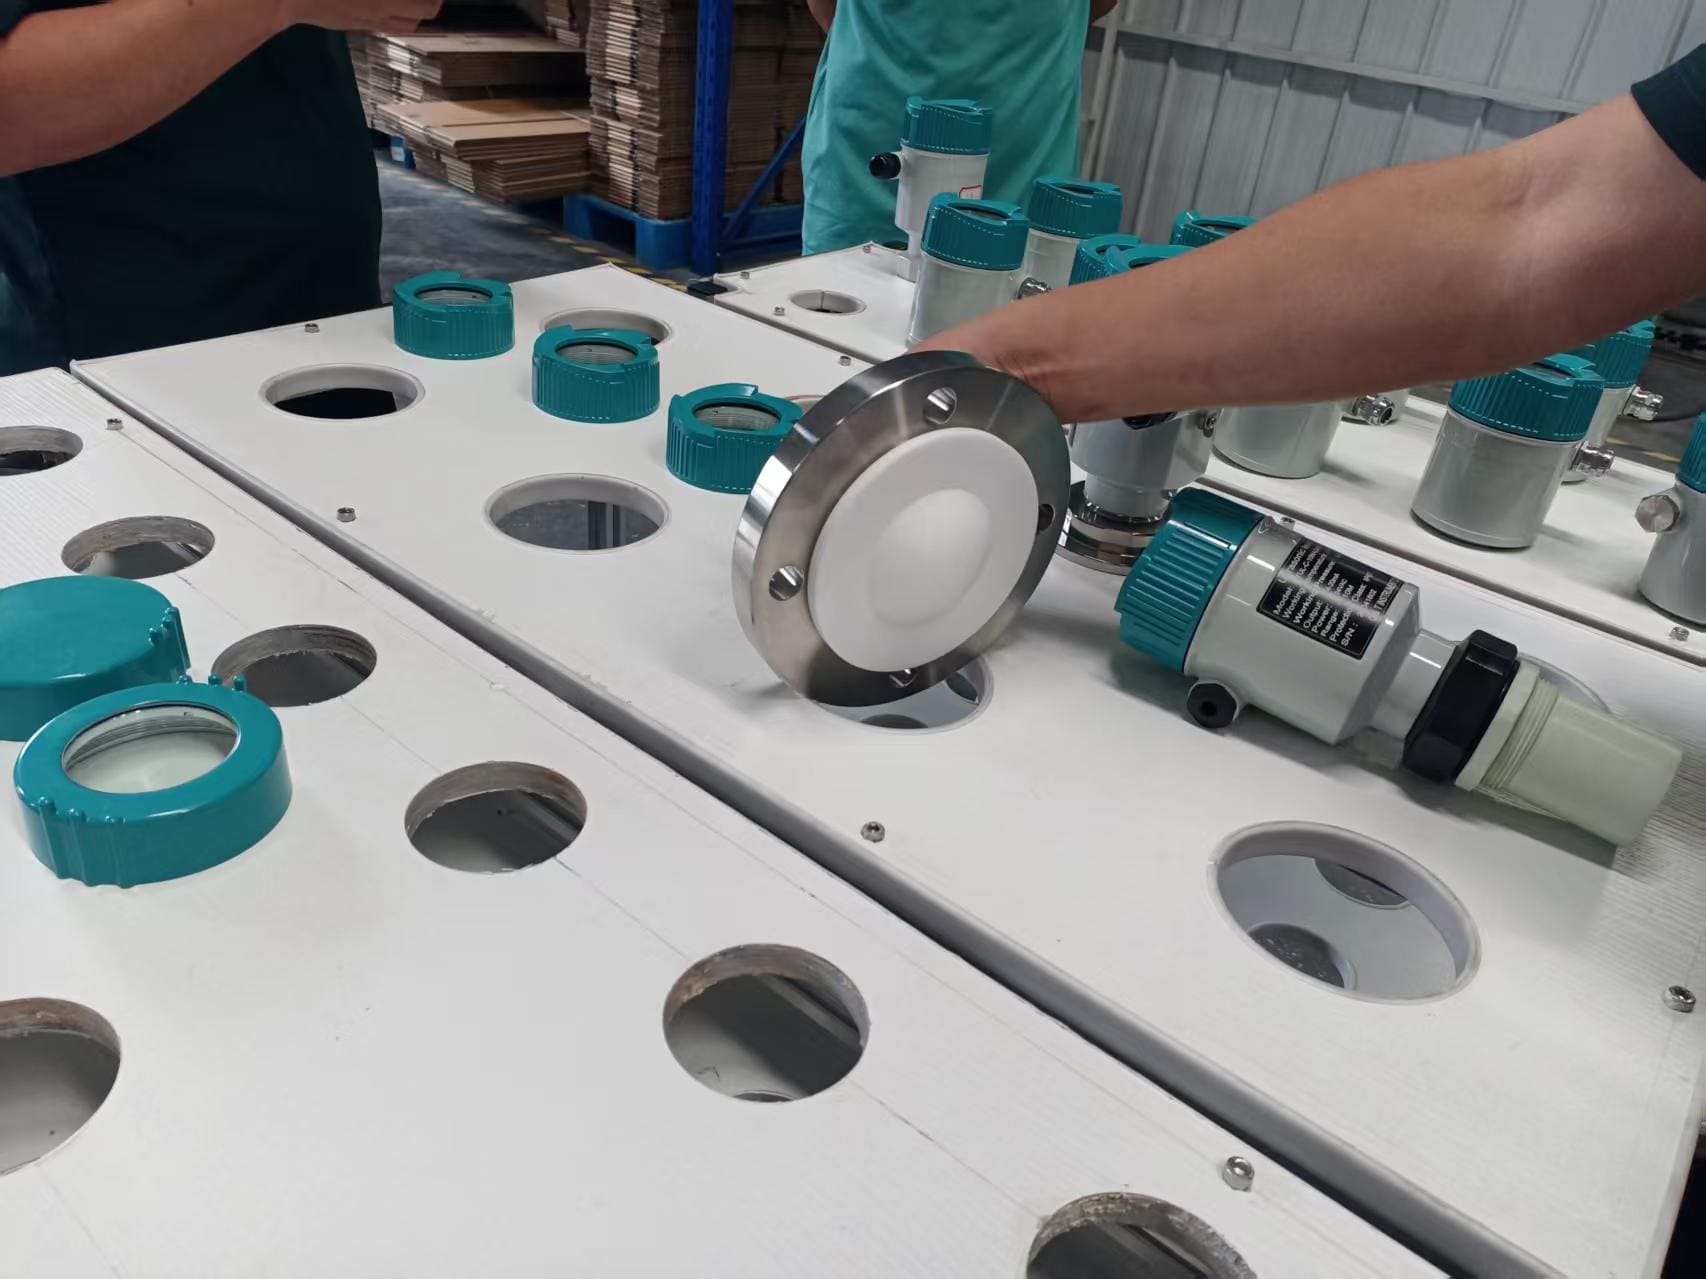
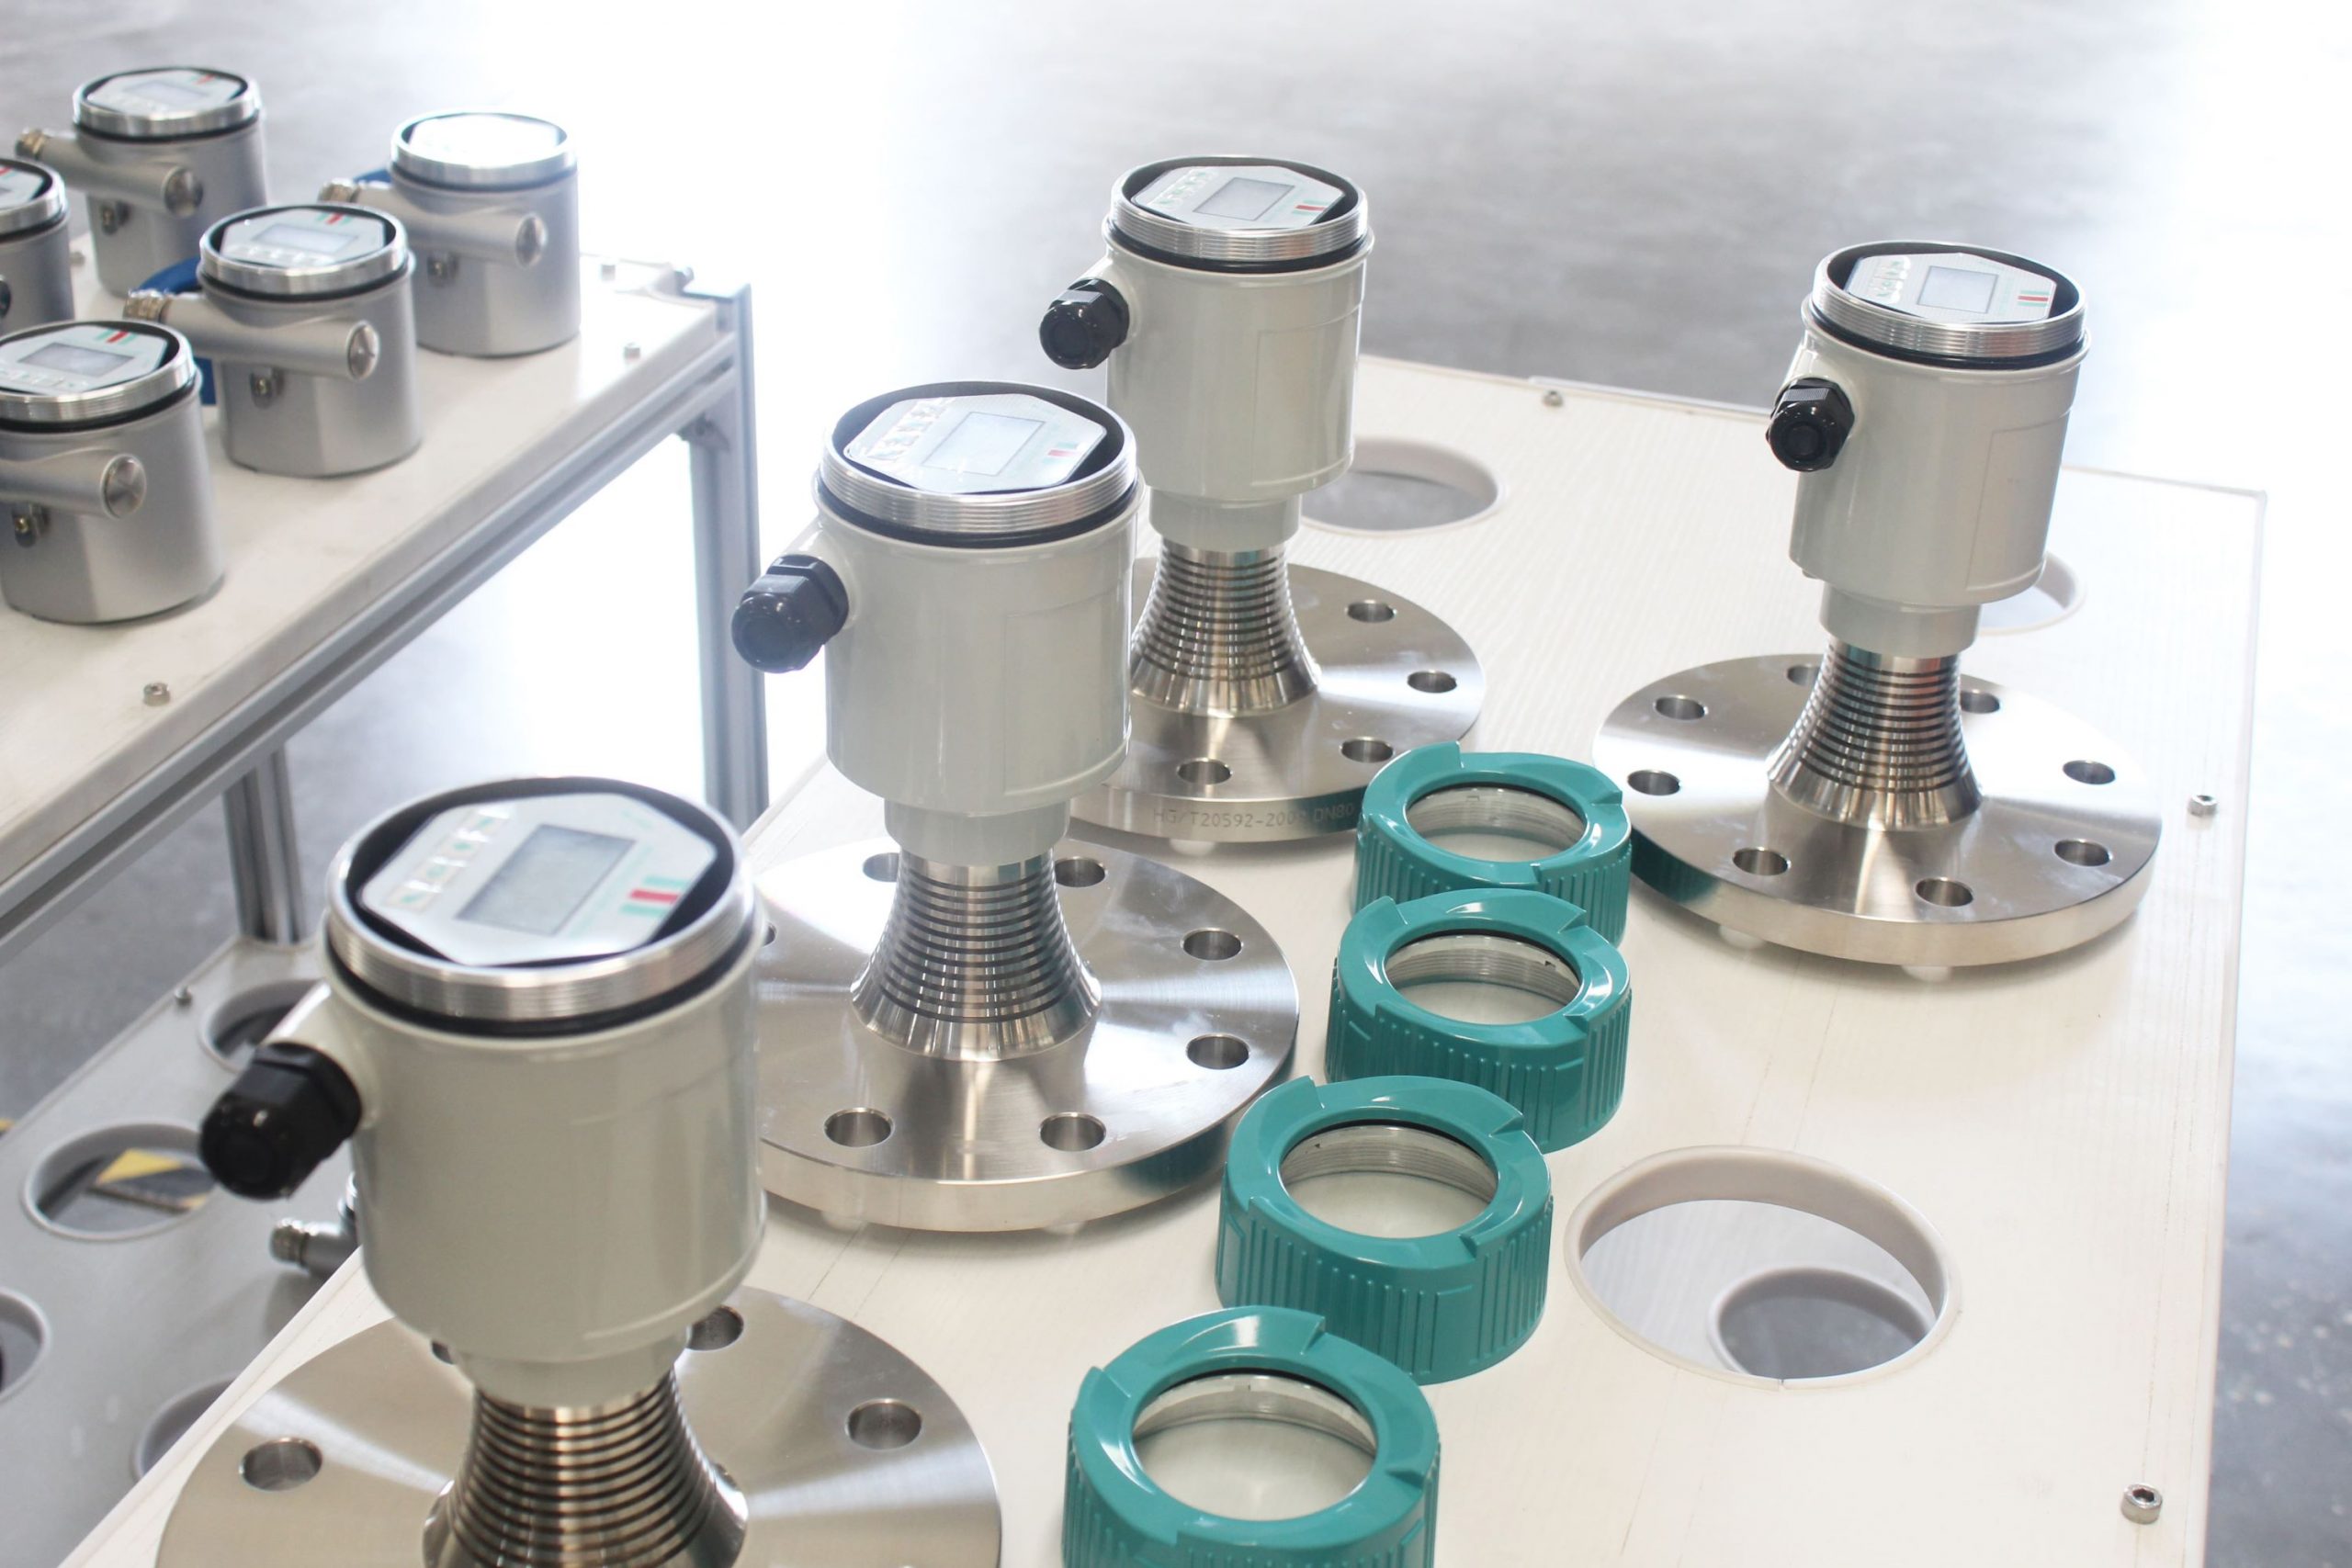
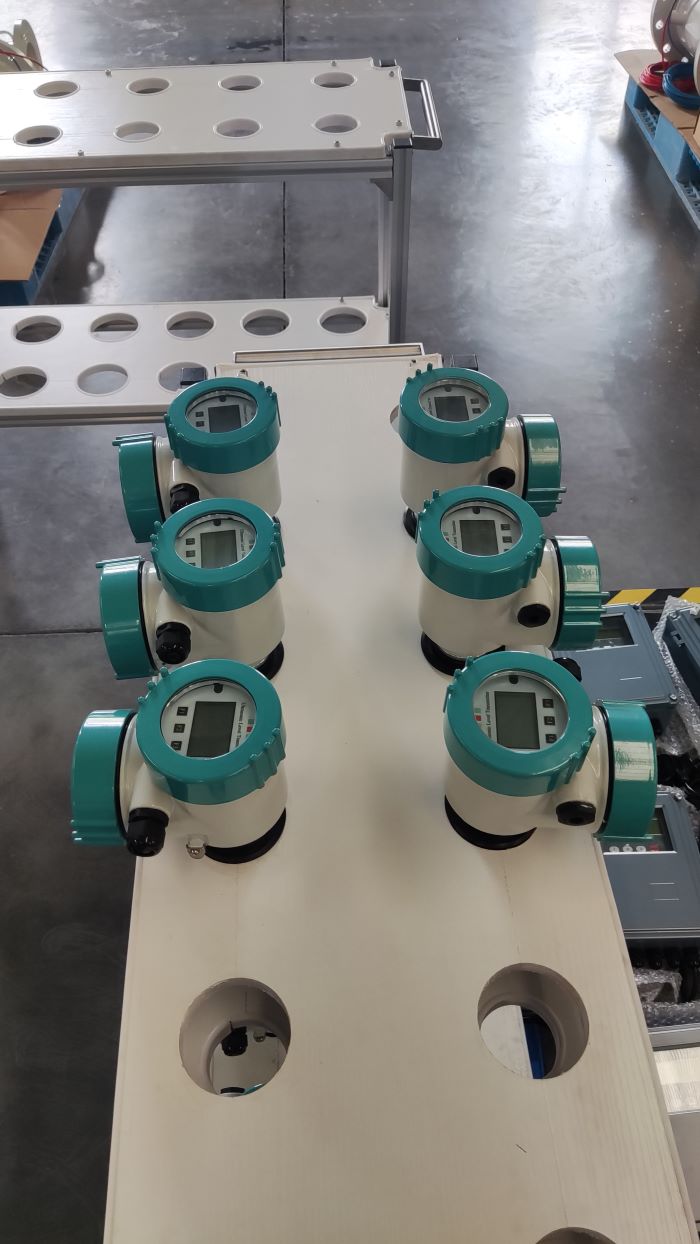
Ultrasonic liquid level meter is more and more widely used, ultrasonic liquid level meter is not as good as other contact flow meters, it is inevitable to encounter some doubts in the installation process, today the flow meter manufacturer Aister tells you a few points about the installation of ultrasonic liquid level meter, hope to help you.
1, the probe launching surface to the distance below the liquid level, should be less than or equal to the measurement range of the selected instrument.
2. The distance from the probe launching surface to the high liquid level should not be lower than the blind area of the selected instrument.
3. The launching surface of the probe should always be parallel with the liquid surface.
4. The installation position of the probe should be staggered as far as possible to the position where the liquid level is larger and floating, such as the inlet and outlet below.
5. If the pool wall or tank is uneven, the installation position of the instrument should be separated from the pool wall or tank by more than 0.3m.
6. If the distance from the probe launching surface to the high liquid level is less than or equal to the blind area of the selected instrument, it is necessary to add an extension tube, the diameter of the extension tube is not less than 120mm, the length is 0.35m ~ 0.50m, the vertical installation, the inner wall is smooth, and the opening hole on the tank should not be lower than the inner diameter of the extension tube. Or pass the pipe to the bottom of the tank, the diameter of the pipe is not less than 80mm, and the hole at the bottom of the pipe is always maintained that the liquid level in the extended pipe is equal to that in the tank.