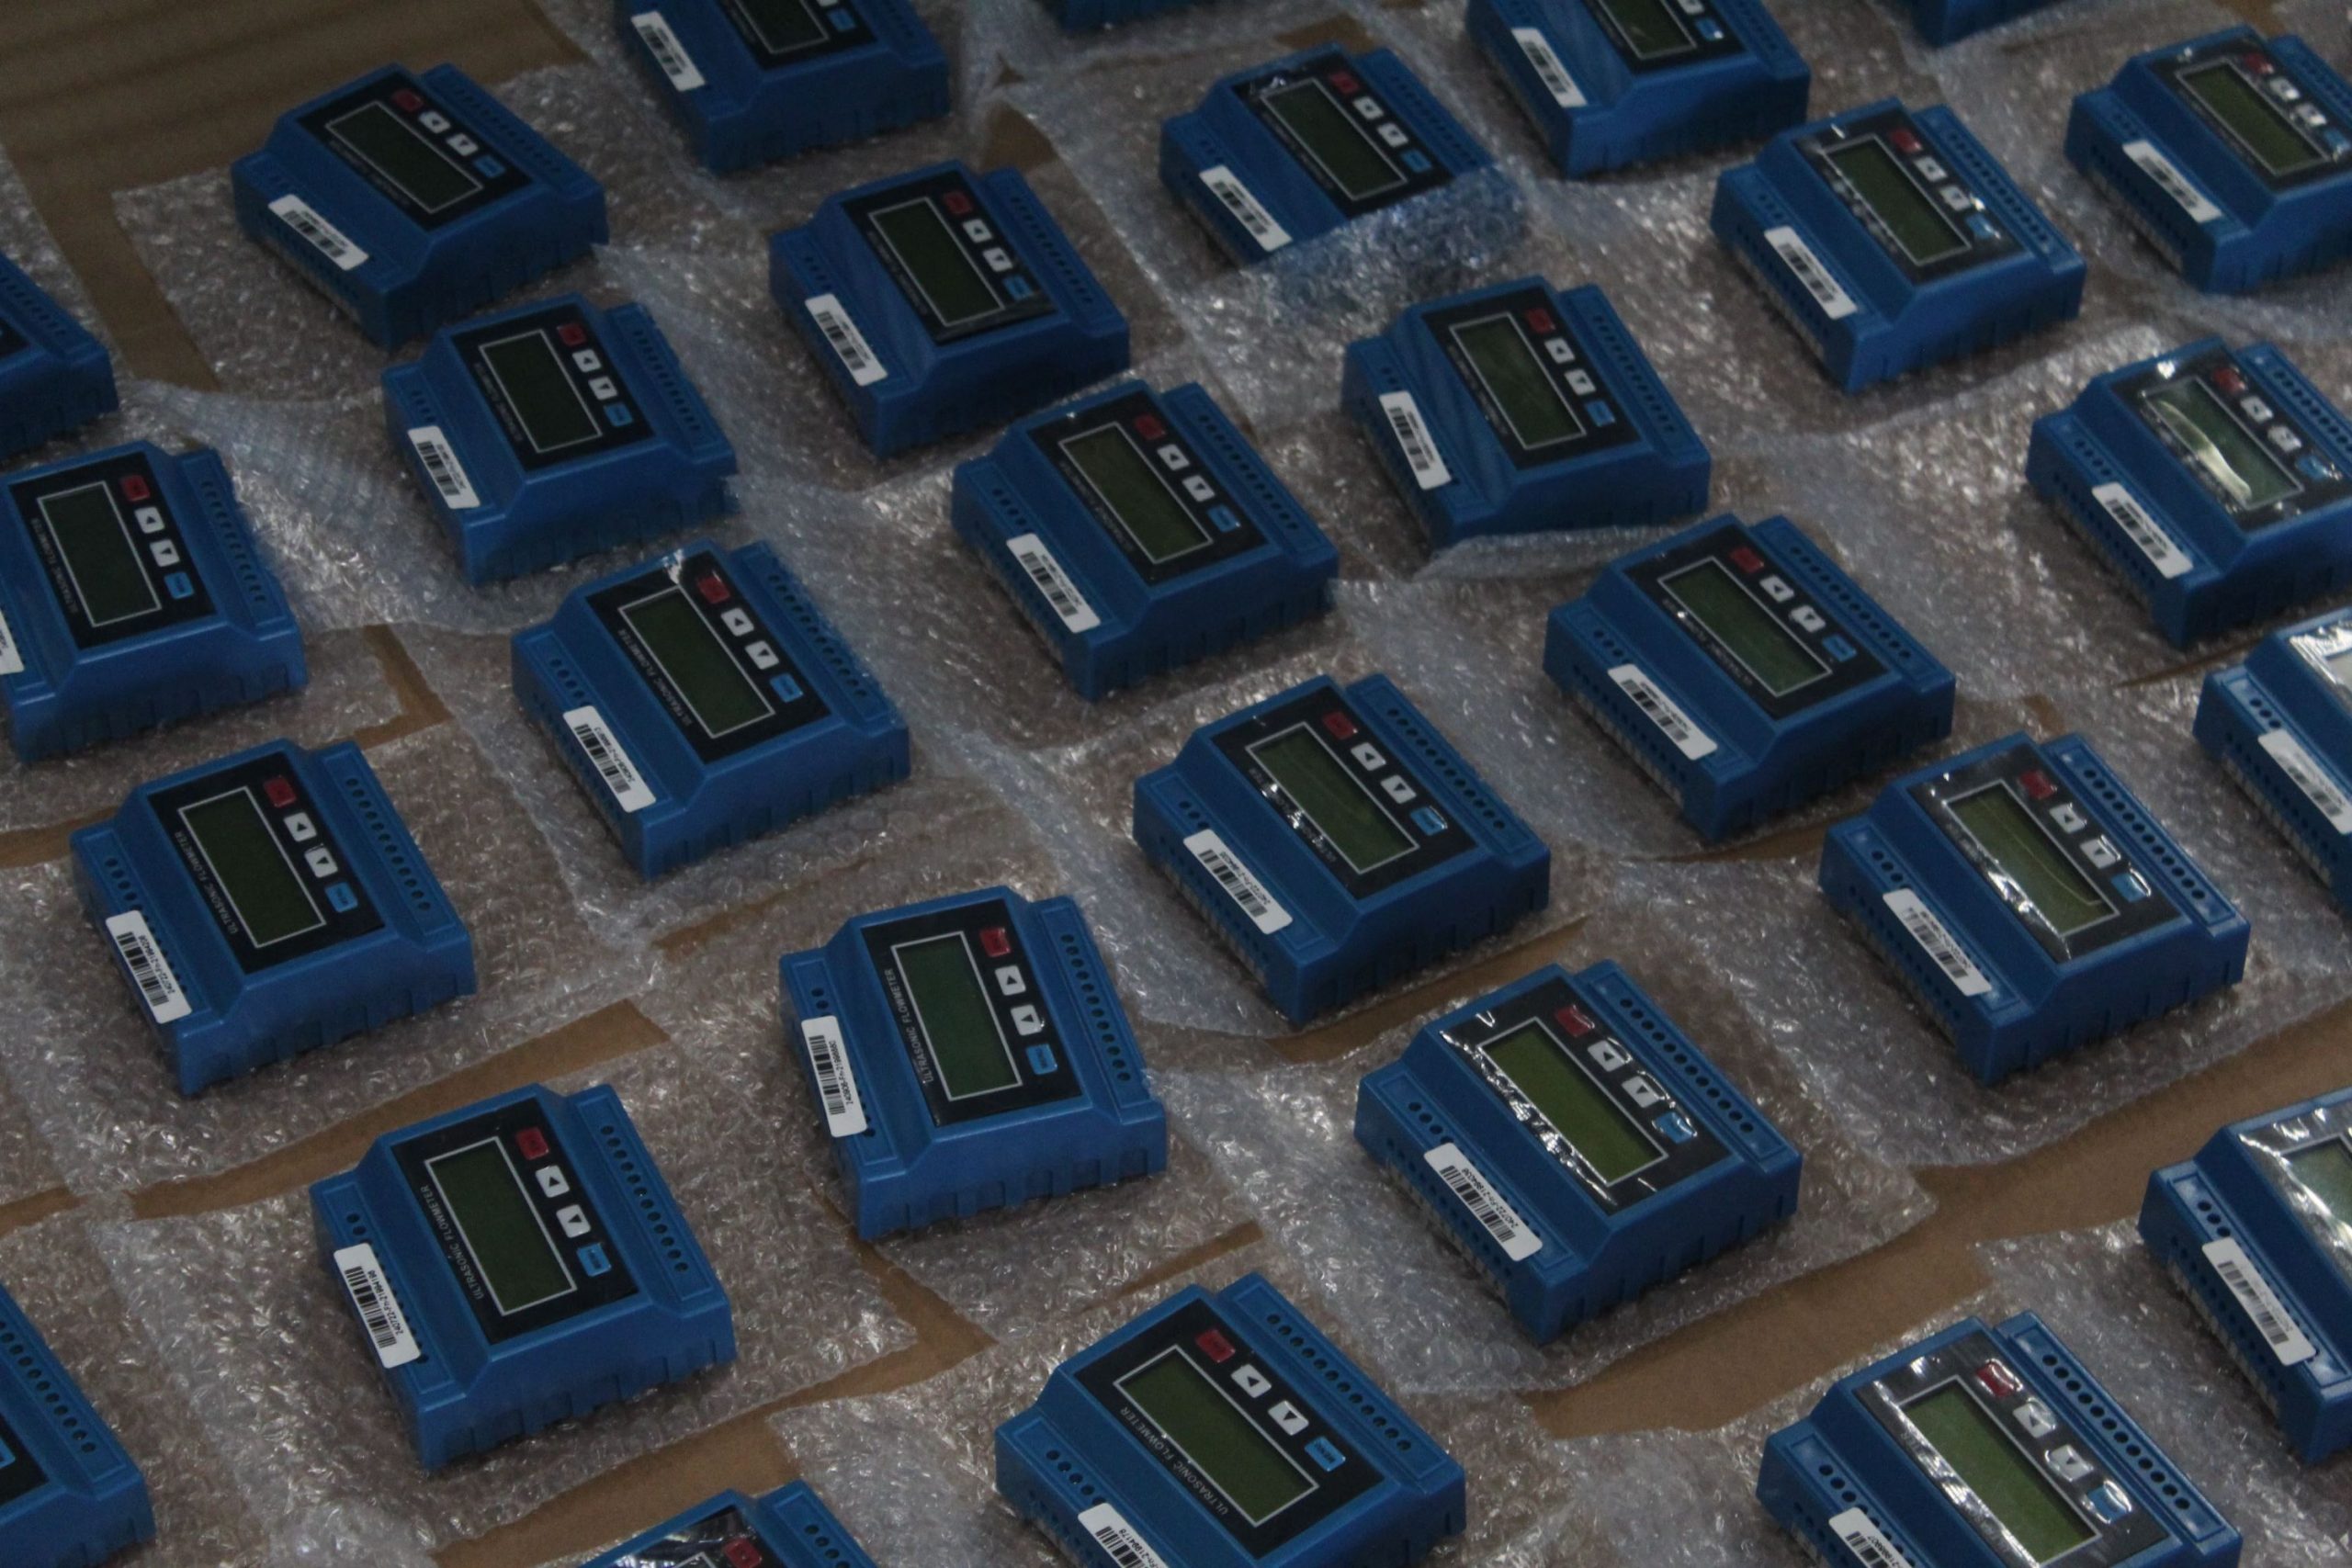
What are the key points to pay attention to in the installation process of ultrasonic flowmeter?
Everyone must master the installation method when installing the ultrasonic flow meter, if the installation error will directly cause the ultrasonic flow meter damage, today the flow meter manufacturer Aister instrument Xiaobian detail about the specific installation requirements.
First, a detailed understanding of the scene
Ultrasonic flowmeters should be aware of the site conditions before installation, including:
1. How much is the distance between the sensor and the host?
2, pipe material, pipe wall thickness and pipe diameter;
3, pipeline life;
4, fluid type, whether it contains impurities, bubbles and whether the tube is full;
5, fluid temperature;
6, whether the installation site has interference sources (such as frequency conversion, strong magnetic field, etc.);
7, the host is placed four seasons temperature;
8, the use of power supply voltage is stable;
9, whether the need for remote signals and types;
Second, select the installation position
The selection of the installation pipe segment has a great impact on the test accuracy. The selected pipe segment should avoid interference and eddy current which have a great impact on the measurement accuracy. Generally, the selection pipe segment should meet the following conditions:
1, avoid the installation of the machine in the water pump, high-power radio, frequency conversion, that is, there is strong magnetic field and vibration interference;
2, select the pipe should be uniform and dense, easy to ultrasonic transmission of the pipe segment;
3. To have a long enough straight pipe section, the upstream straight pipe section of the installation point must be greater than 10D(note: D= diameter), and the downstream must be greater than 5D;
4, the installation point upstream distance from the pump should be 30D;
5, fluid should be filled with pipes;
6, there should be enough space around the pipeline to facilitate the operation of on-site personnel, underground pipelines need to do test Wells, test Wells are as follows:
Third, determine the probe installation method
Ultrasonic flowmeters generally have two probe installation methods, namely Z method and V method.
However, when D < 200mm and the field condition is one of the following conditions, the Z method can also be used for installation:
1, when the turbidity of the measured fluid is high, the signal can not be received by the V method or the signal is very weak;
2, when the inner wall of the pipeline is lined;
3. When the service life of the pipeline is too long and the inner wall is seriously scaled;
For good pipeline conditions, even if D is slightly greater than 200mm, in order to improve the measurement accuracy, V method can also be used to install.
Fourth, obtain the installation distance, determine the probe position
1, enter the pipe parameters into the instrument, select the probe installation method, get the installation distance;
2, on the horizontal pipe, generally should choose the middle of the pipe, avoid the top and bottom (the top may contain bubbles, the bottom may have precipitation);
3, V method installation: First determine a point, according to the installation distance in the horizontal position to measure out another point.
Z-method installation: First determine a point, measure another point in the horizontal position according to the installation distance, and then measure the symmetric point of this point on the other side of the pipeline.
Five, pipe surface treatment
After determining the probe position, use an Angle grinder, file, sandpaper and other tools to polish the pipe until it is bright, smooth and pit-free within ±100mm of the two installation points.
Requirements: uniform luster, no ups and downs, feel smooth and round. It is necessary to pay special attention to the requirement that the polishing point has the same arc as the original pipe, do not polish the installation point into a flat surface, and wipe this range with alcohol or gasoline to facilitate the probe bonding.
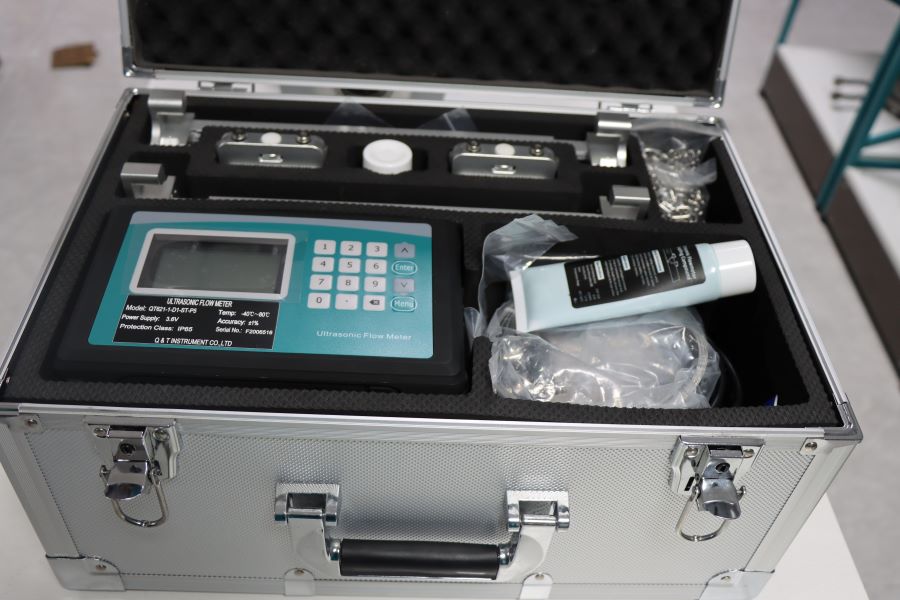
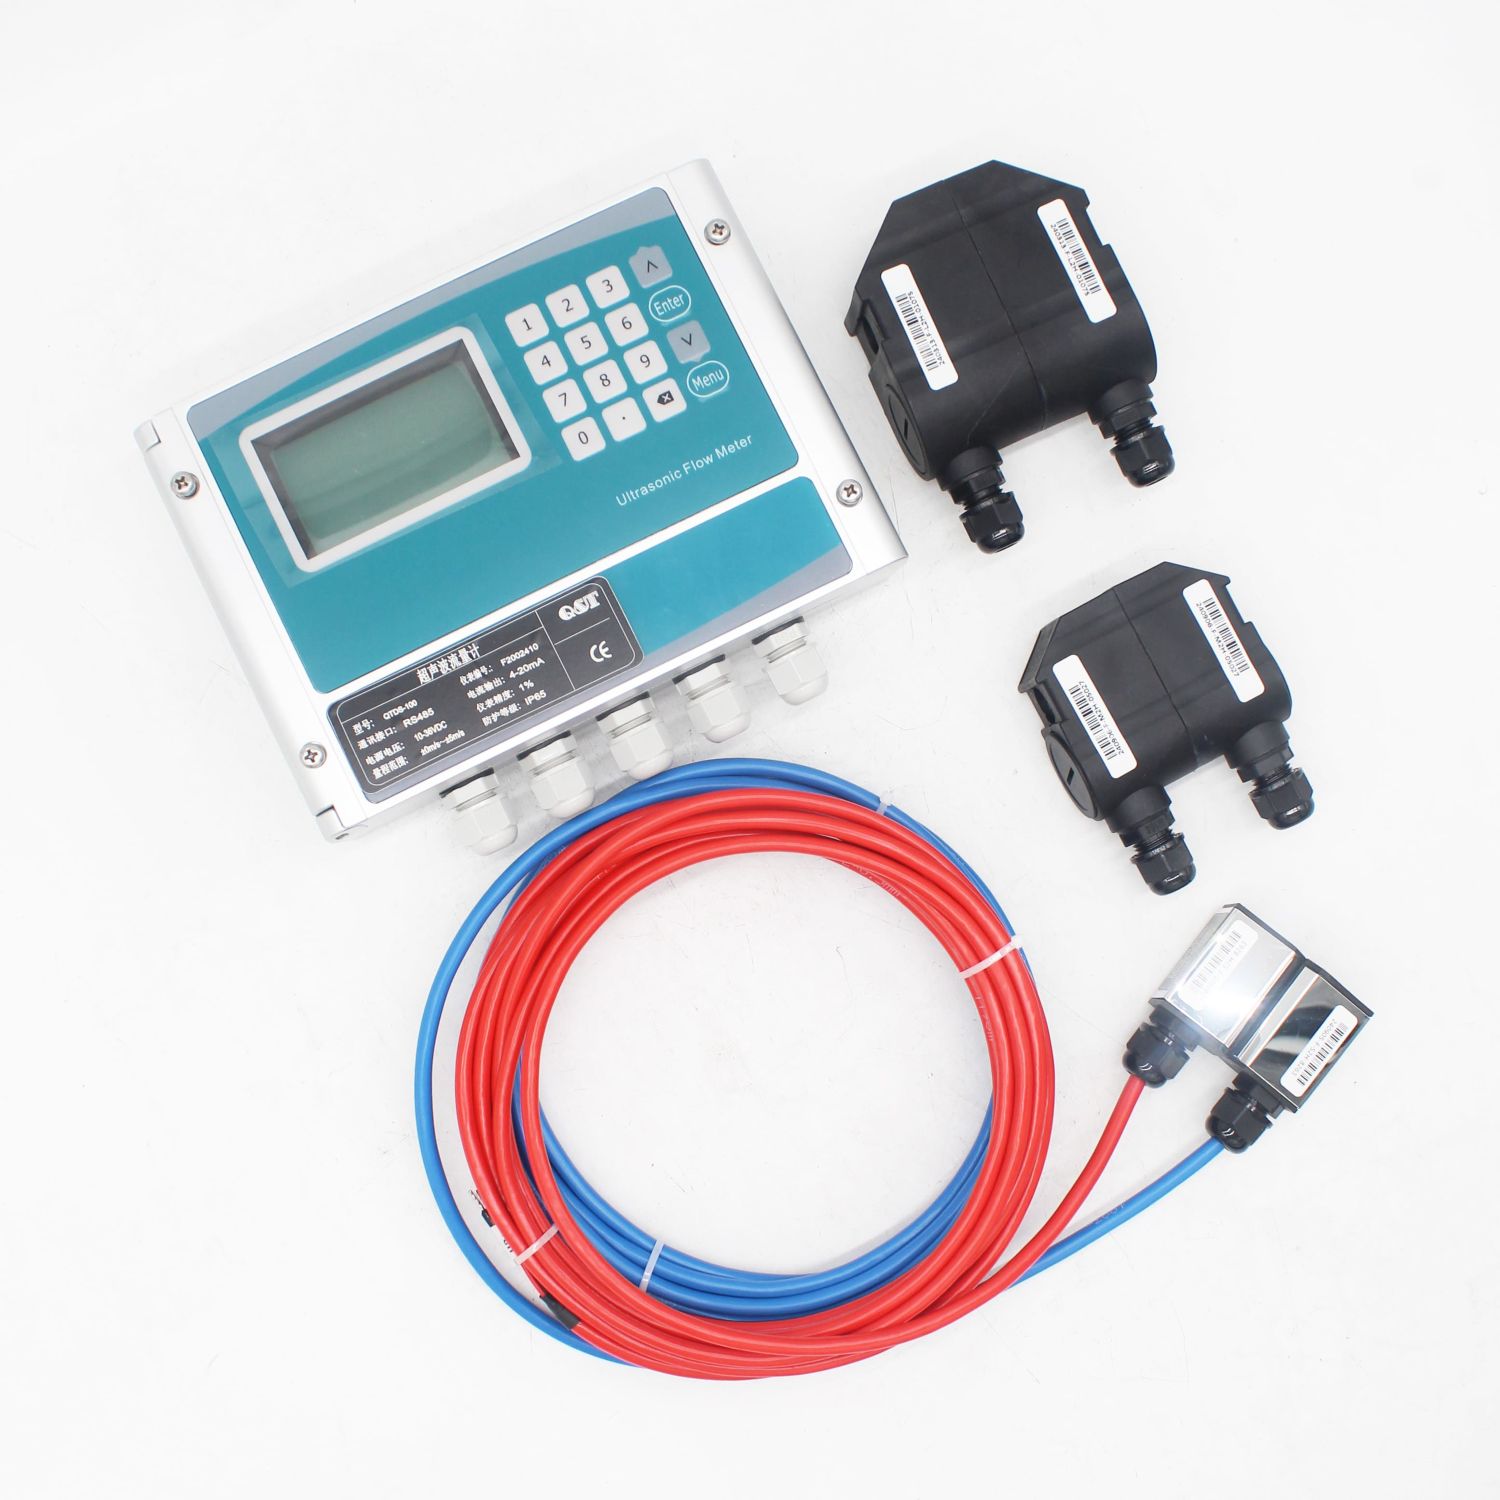
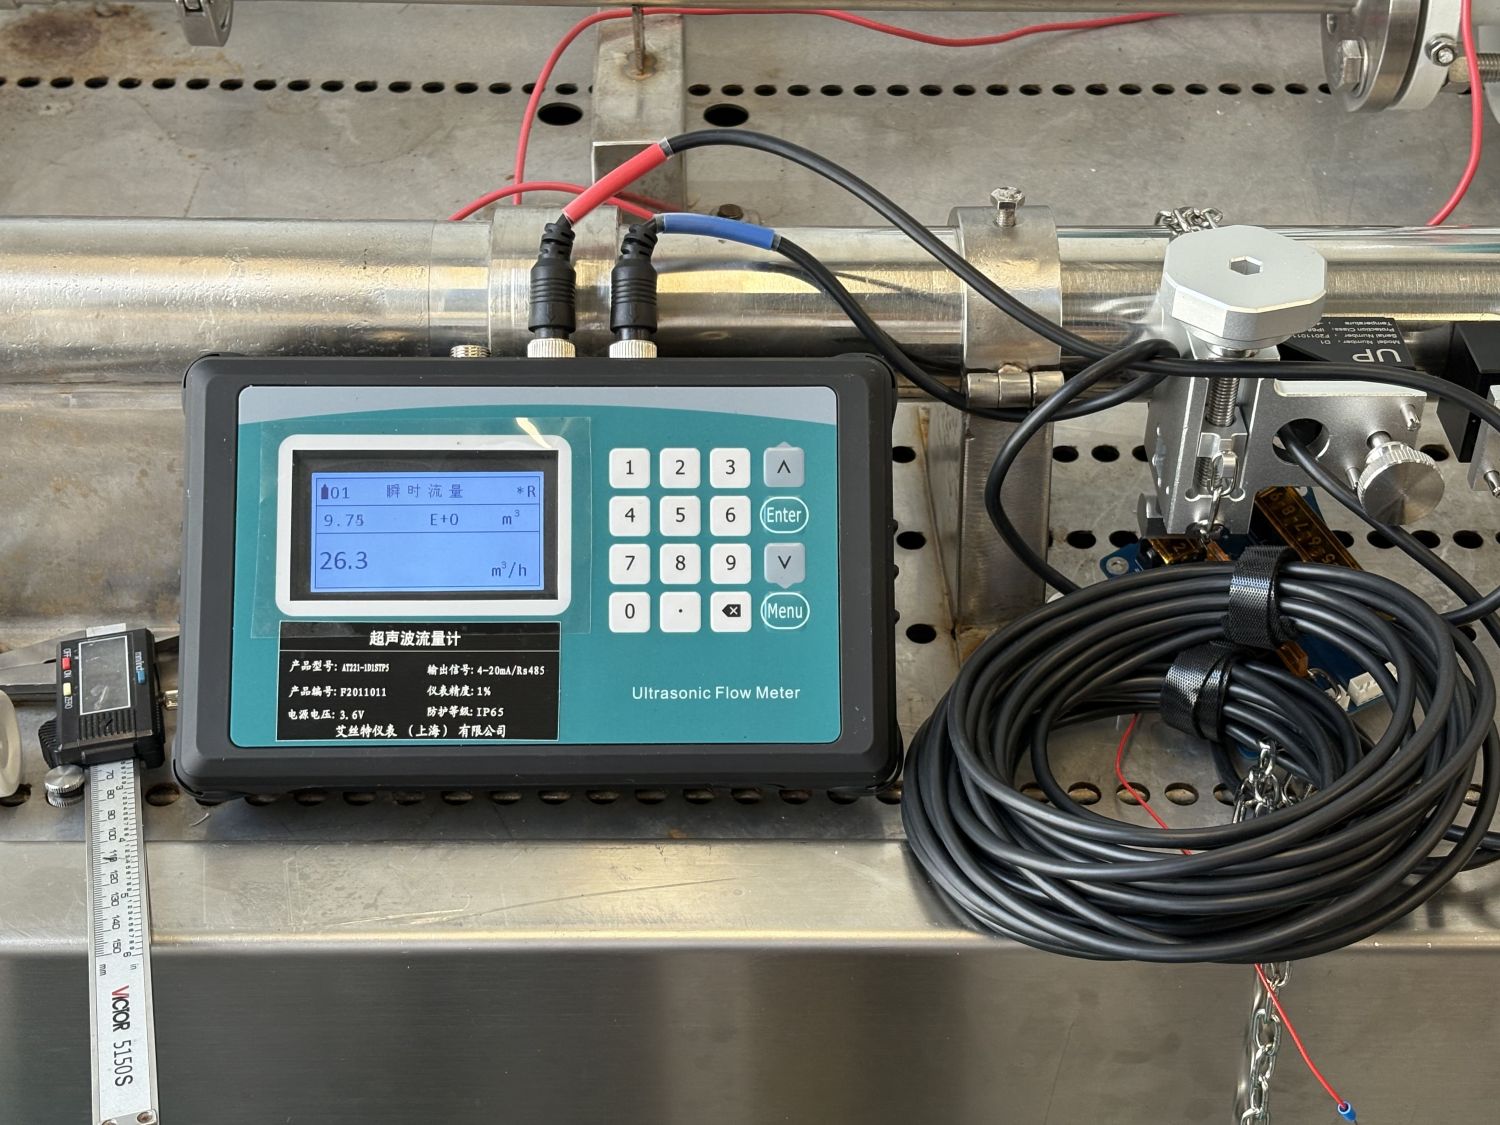
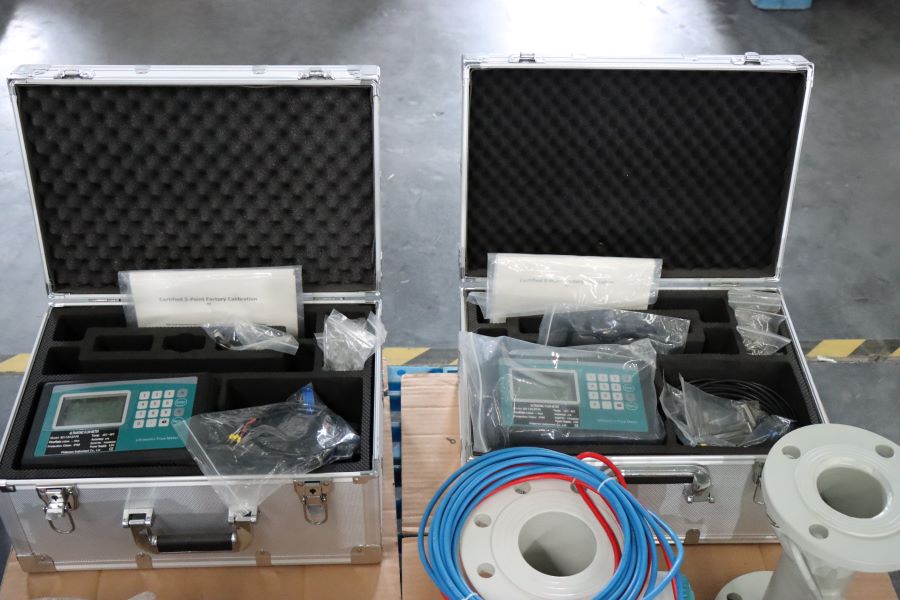
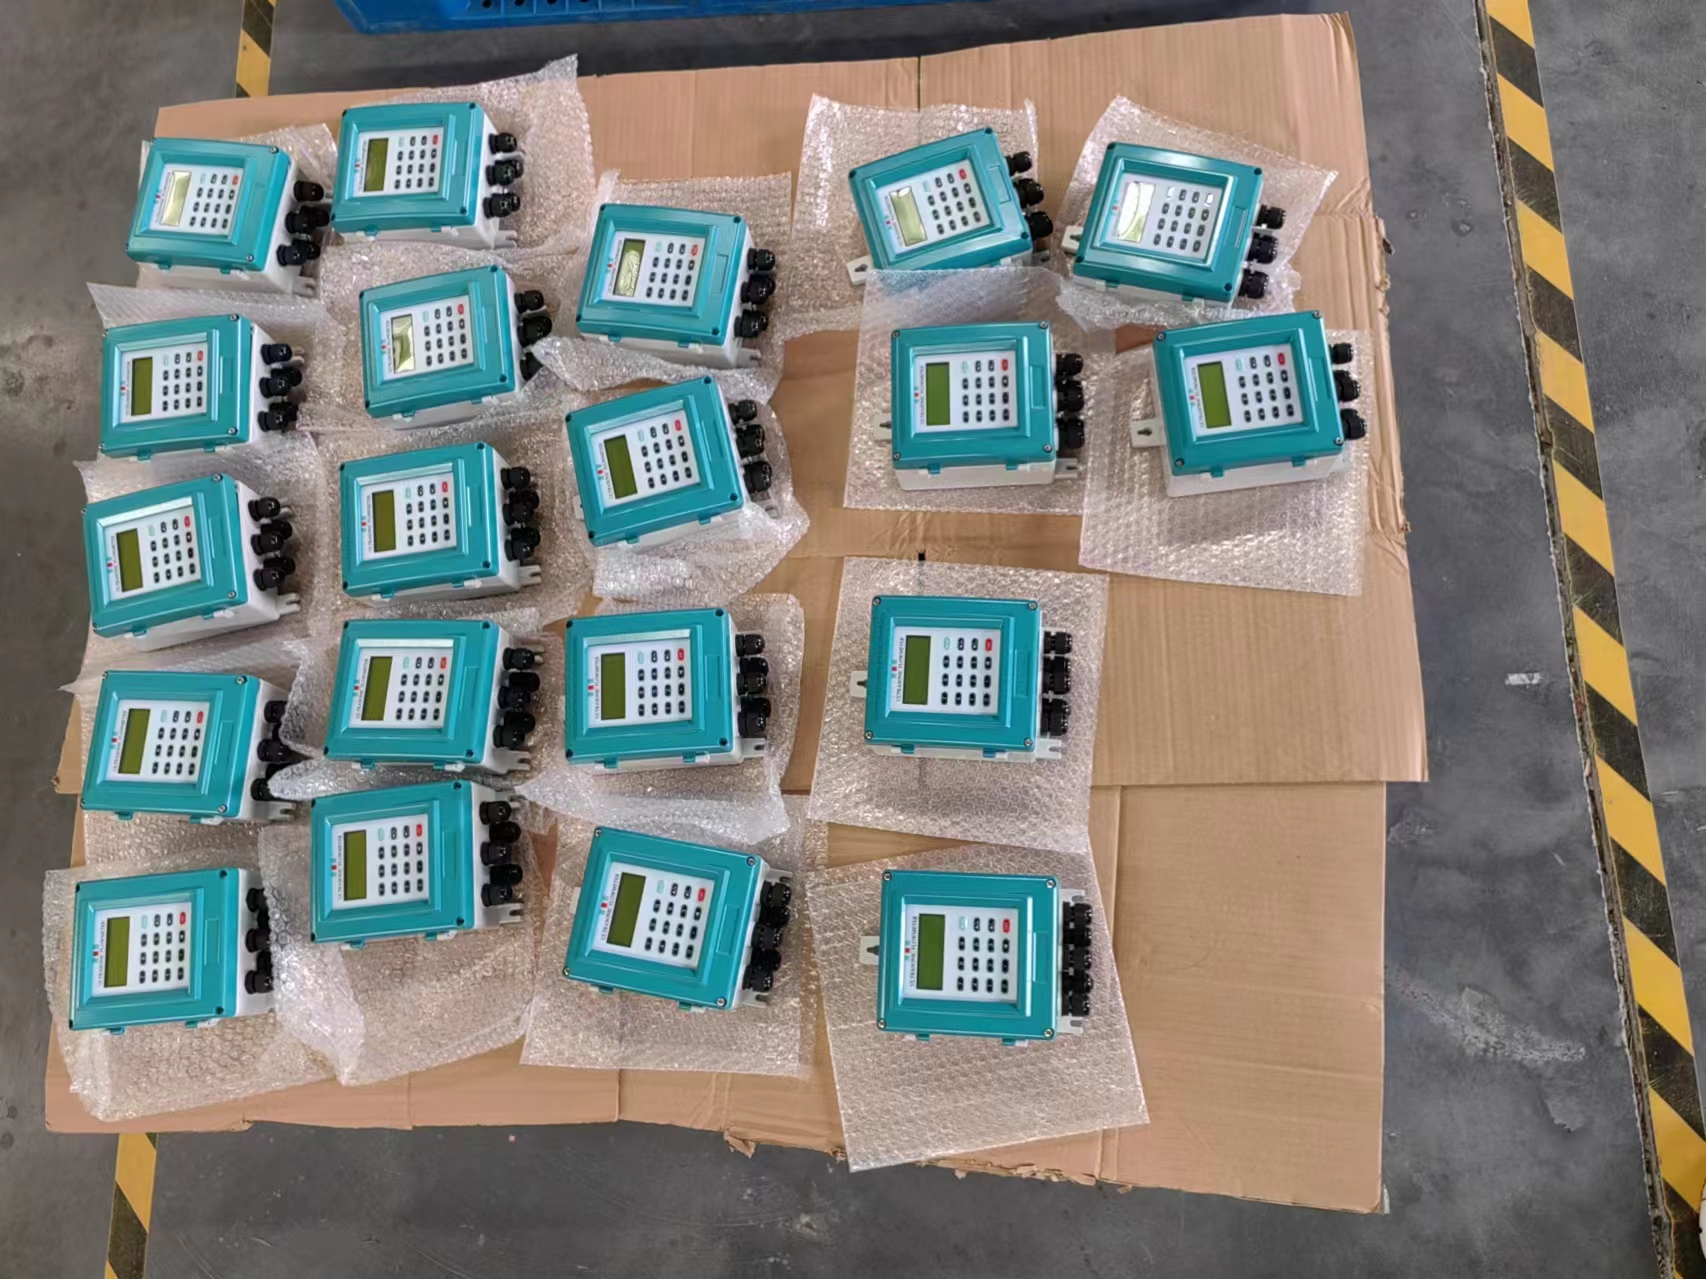
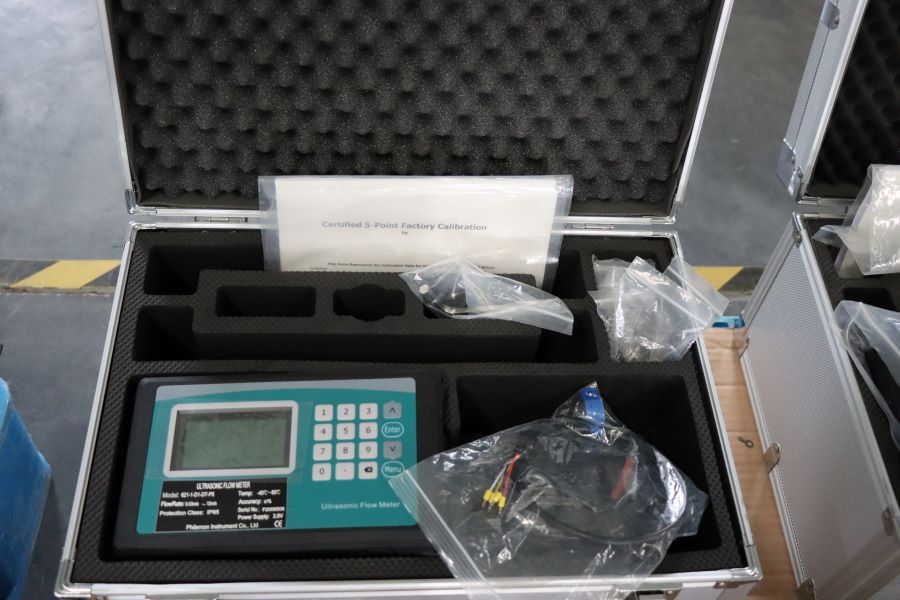
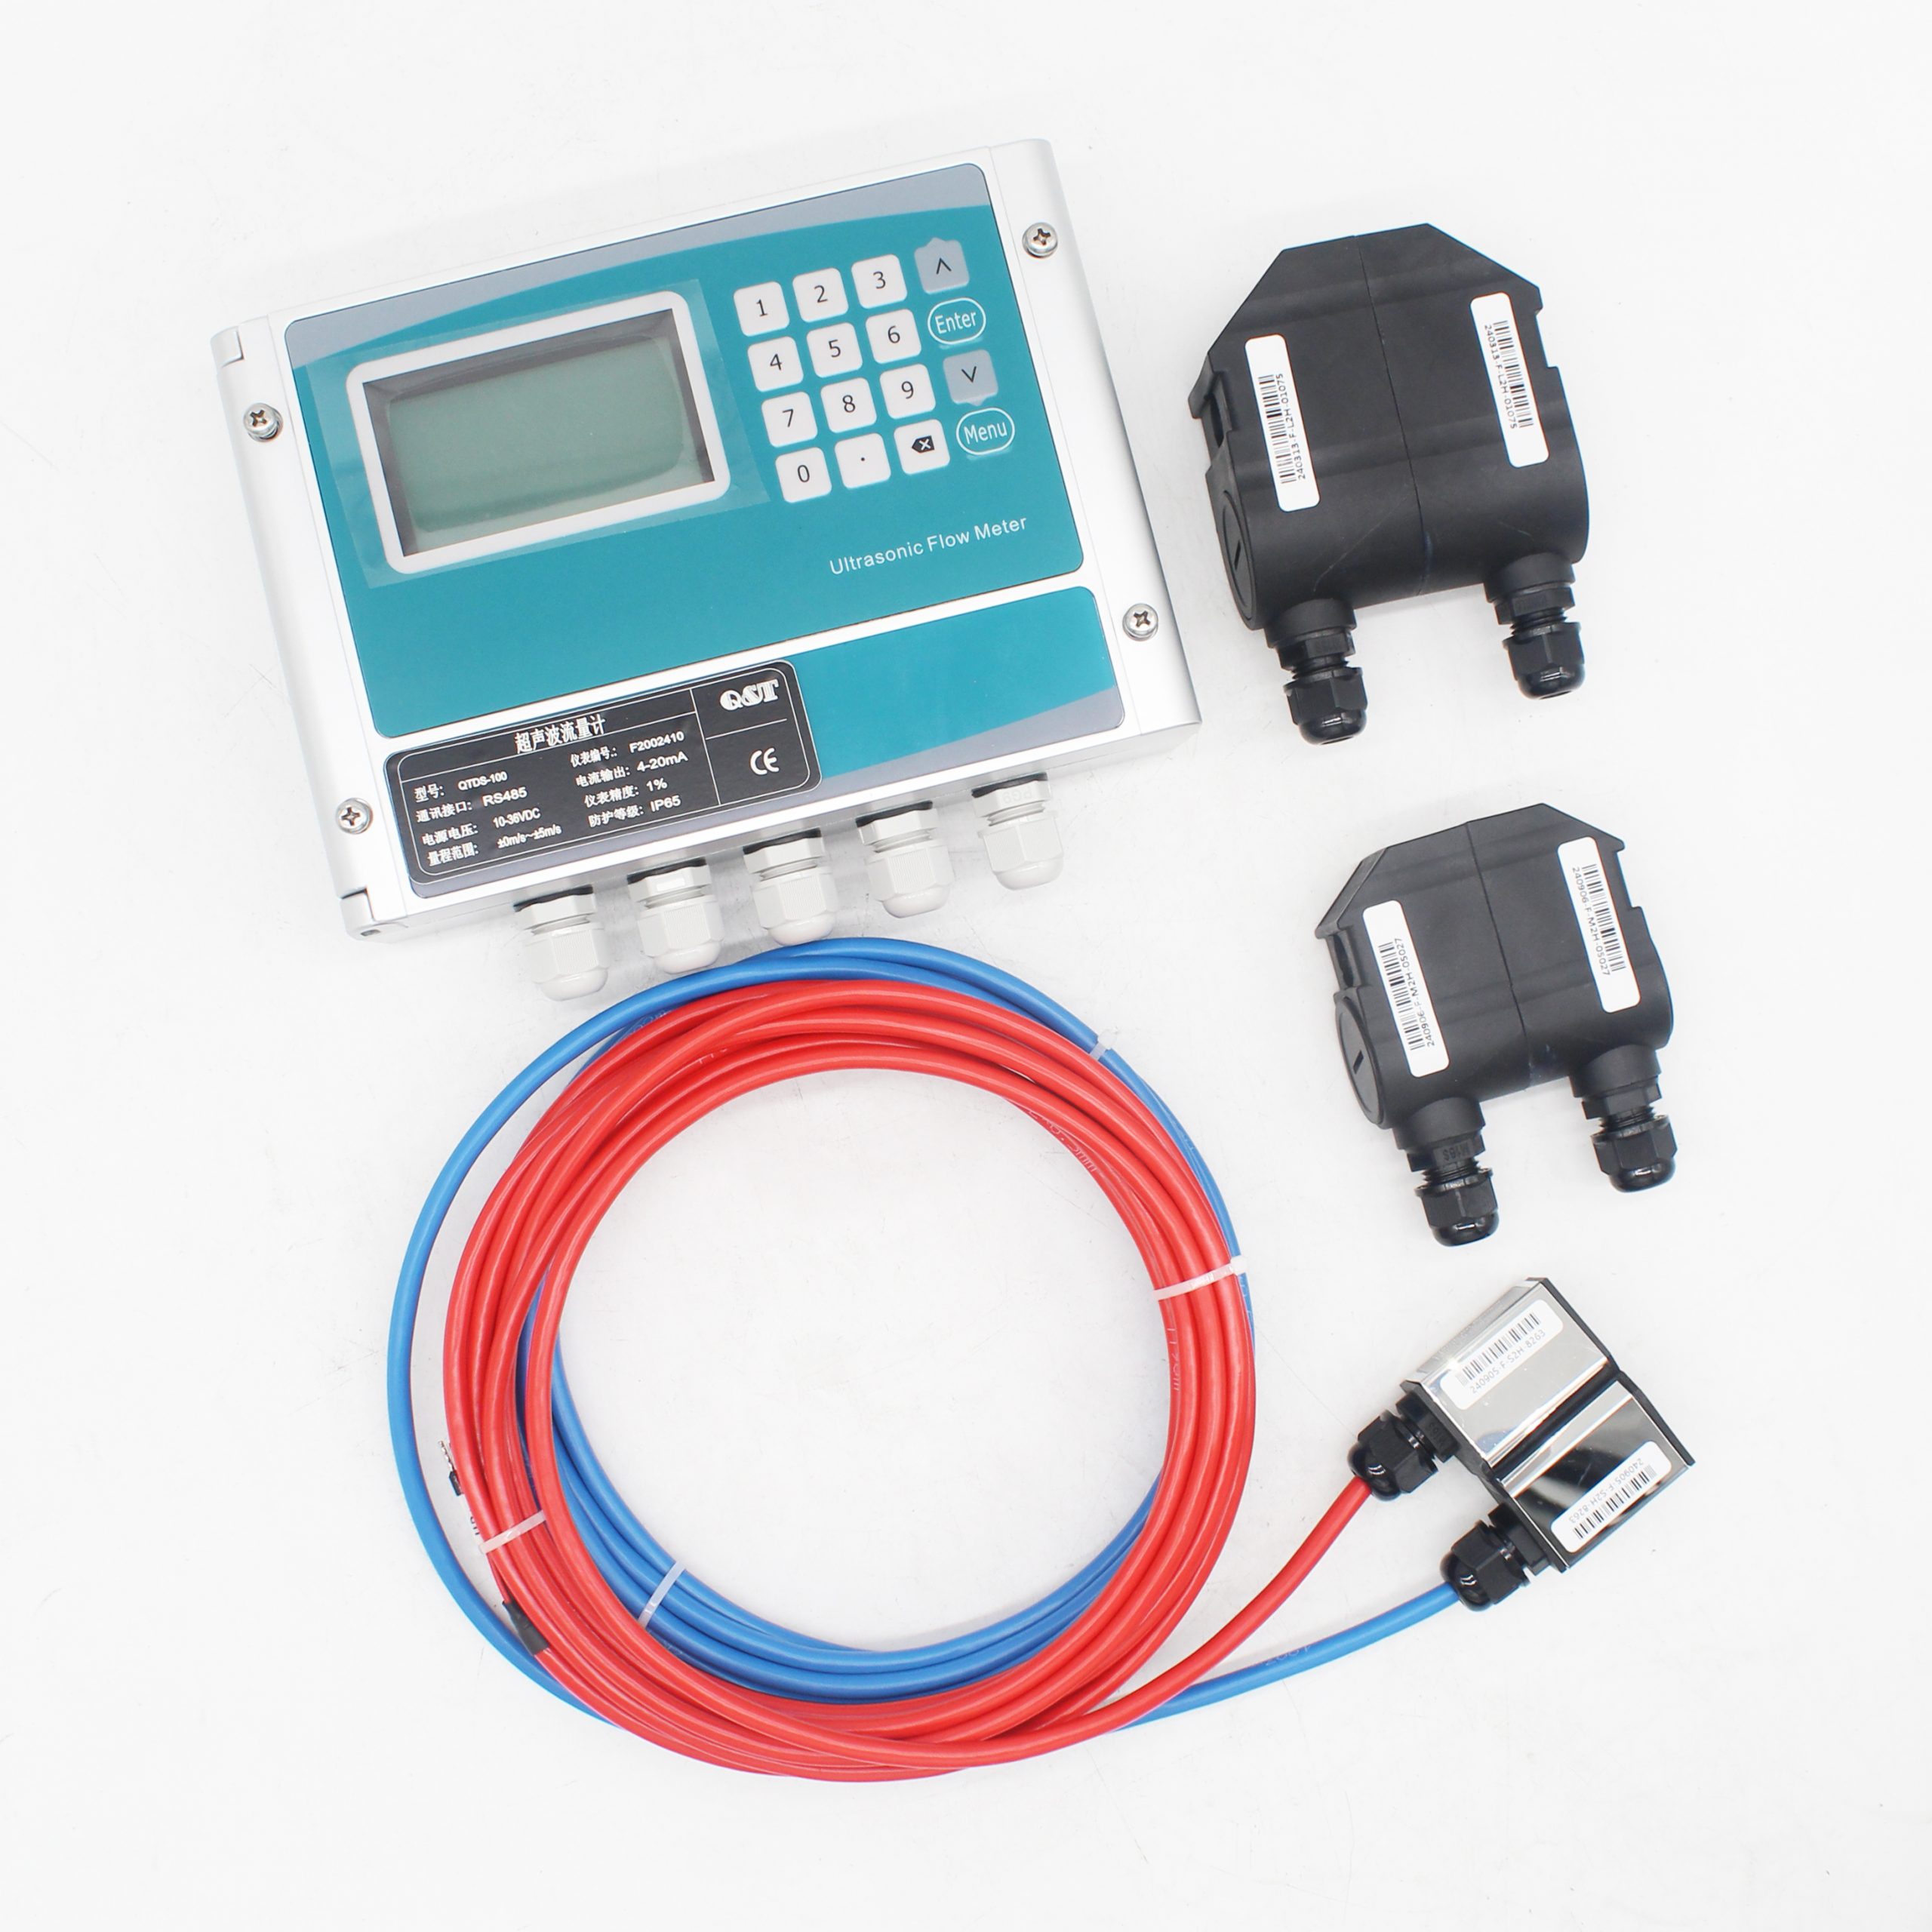
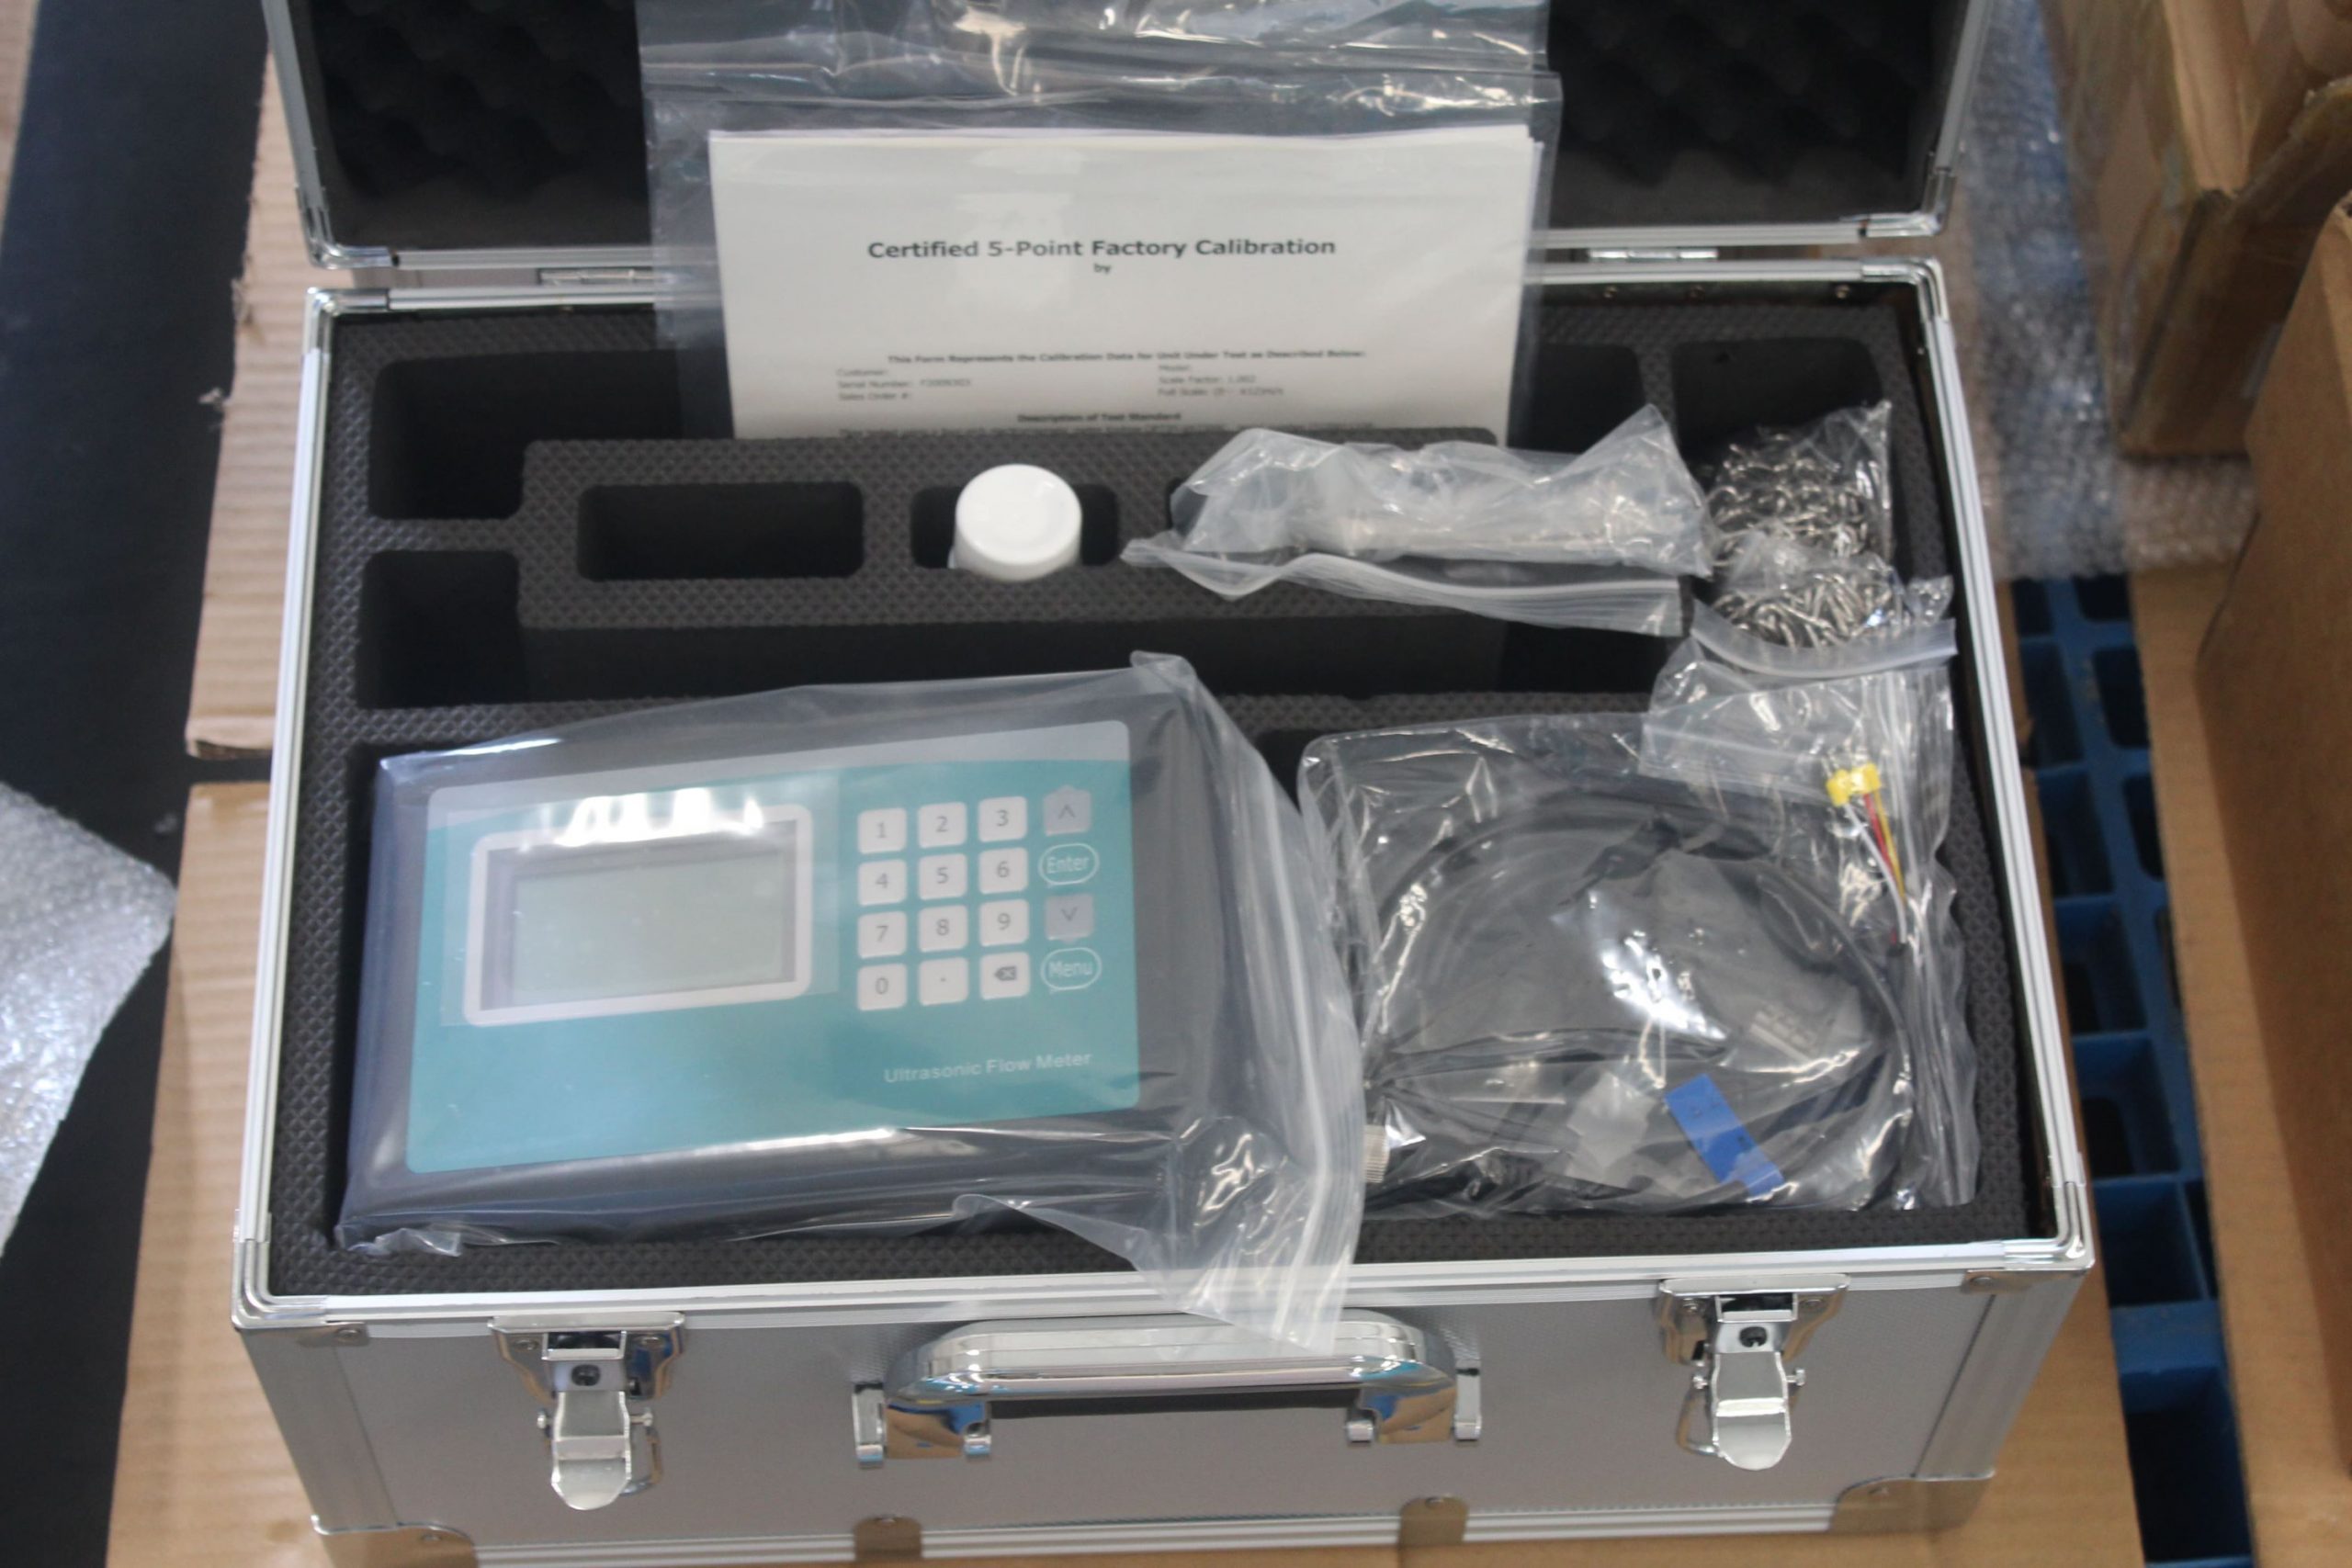
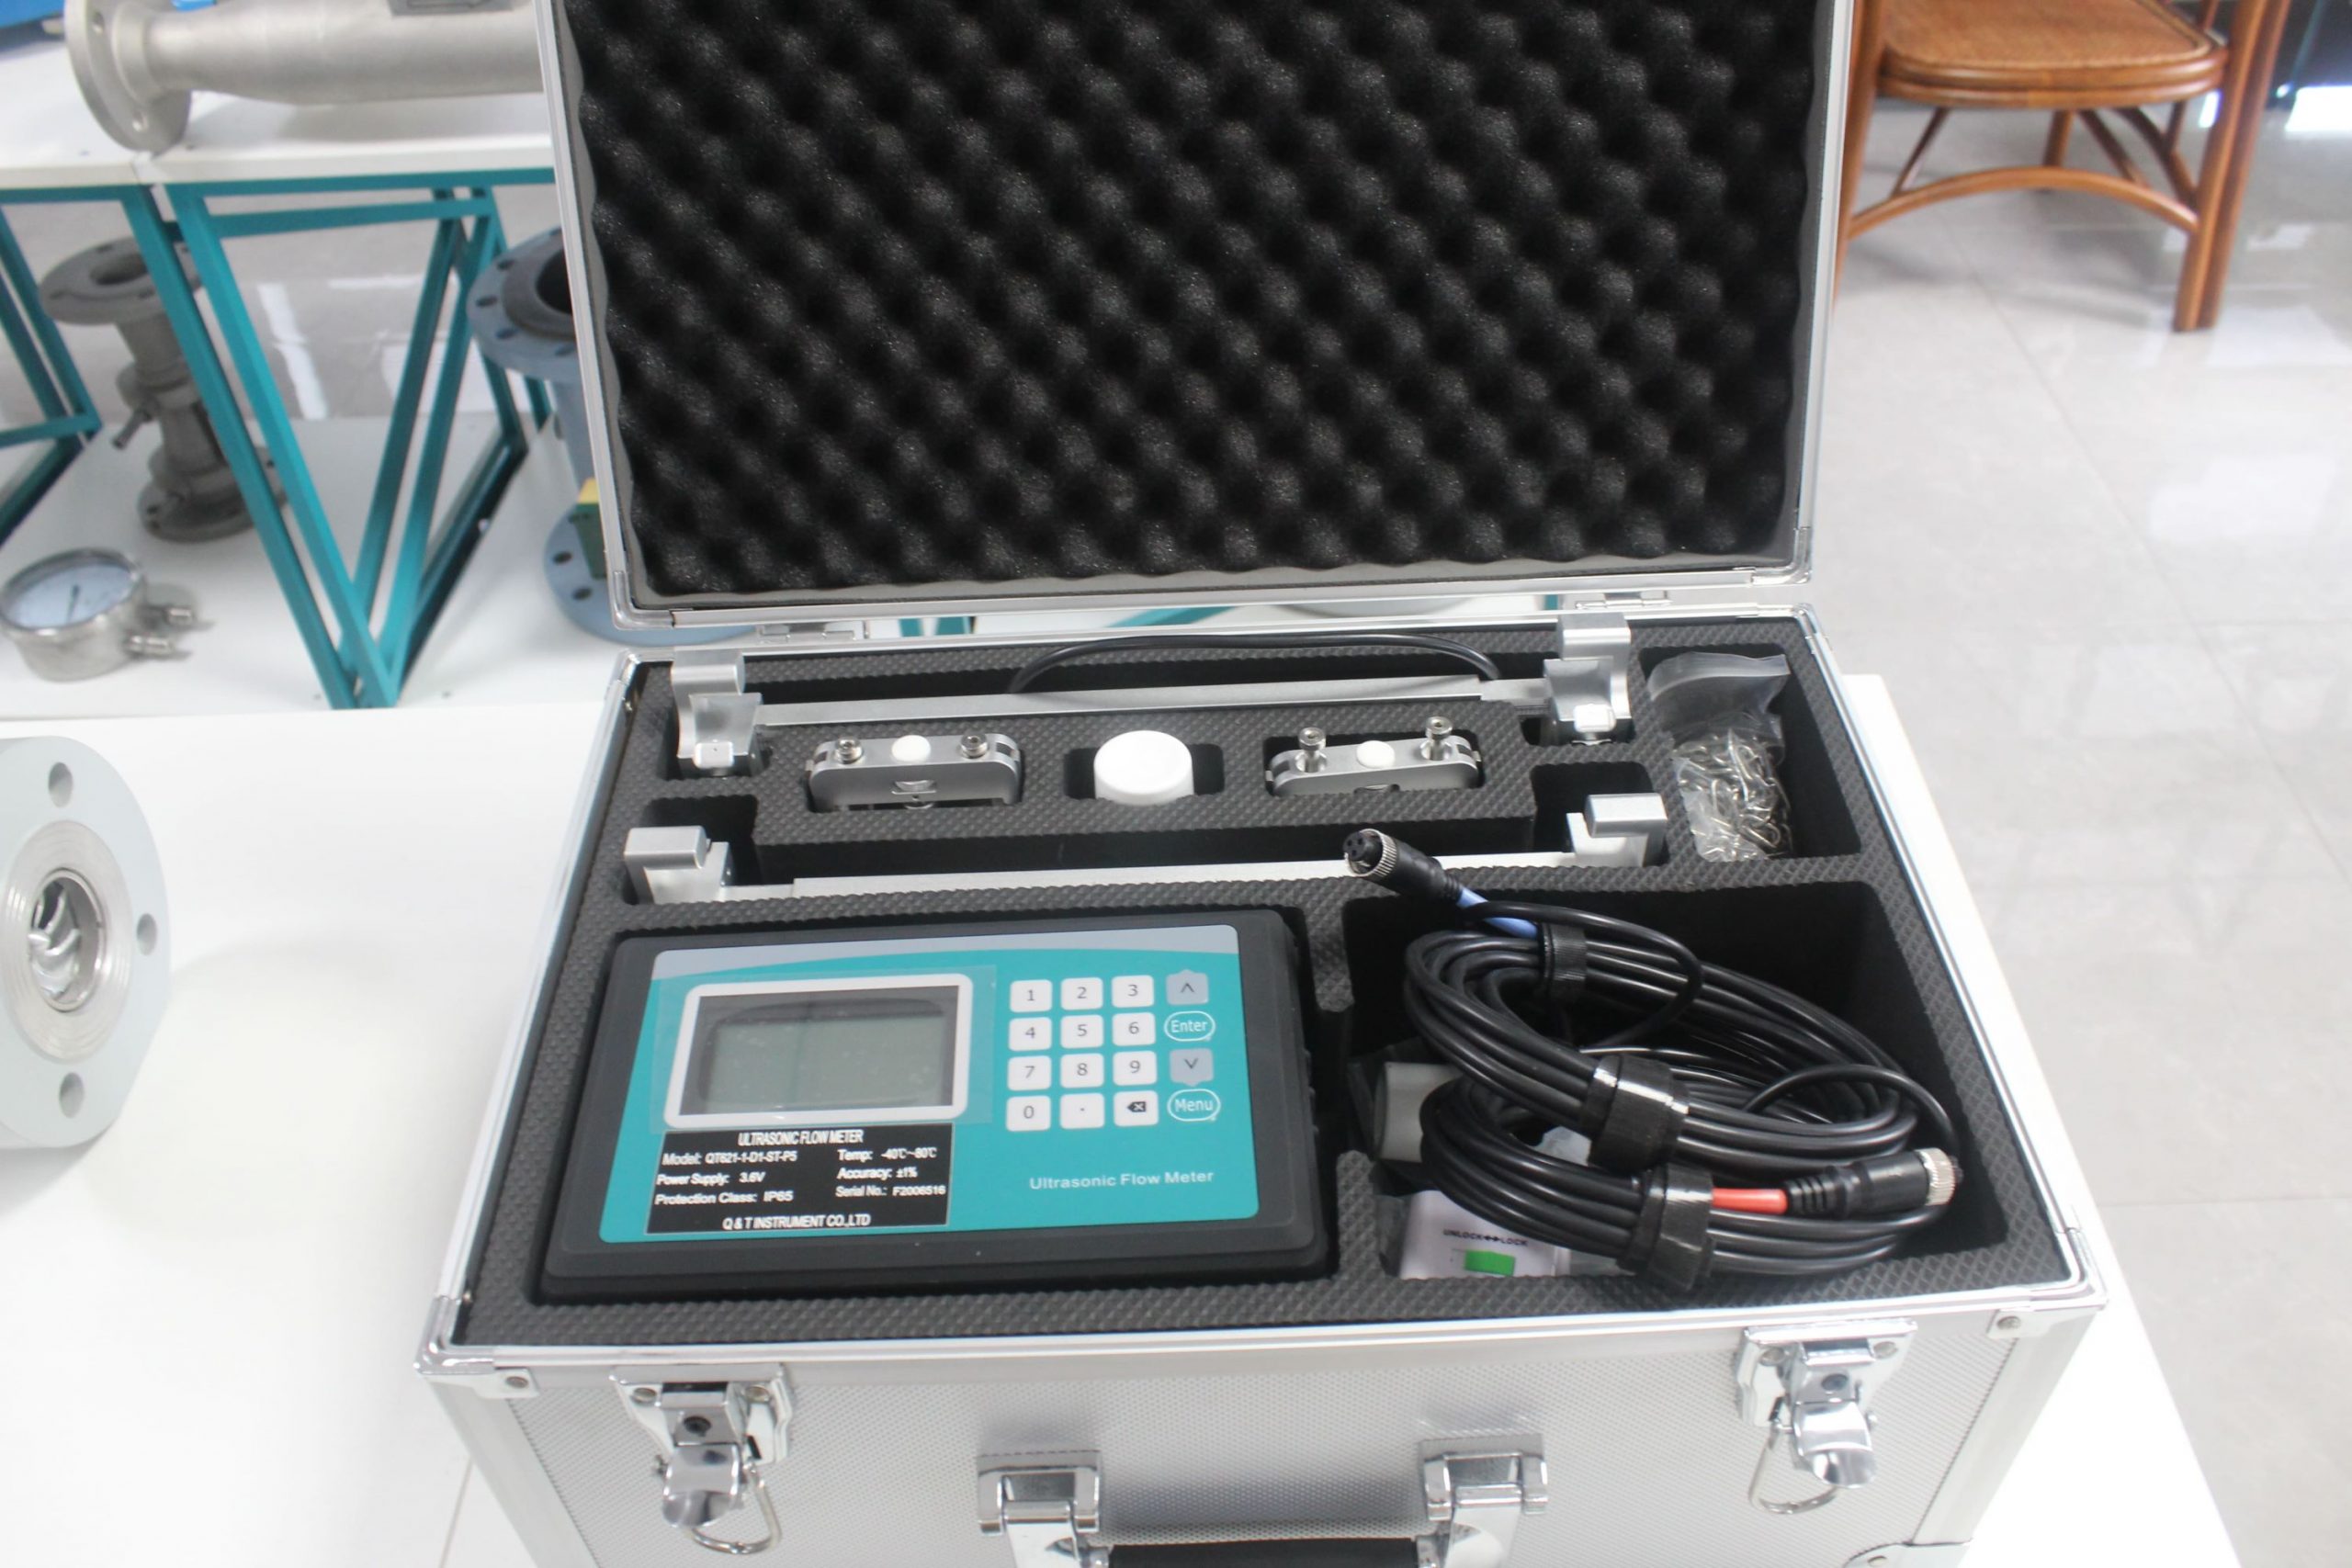
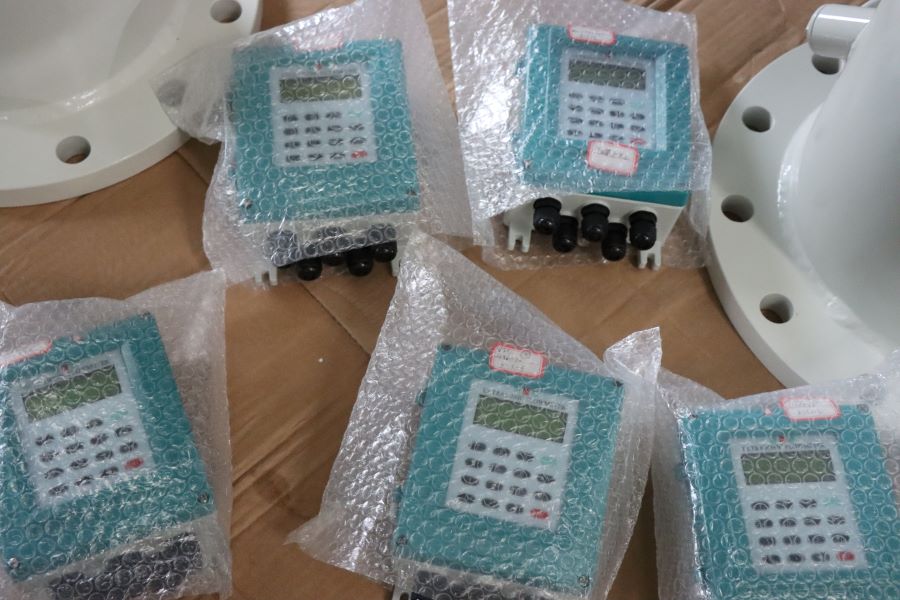
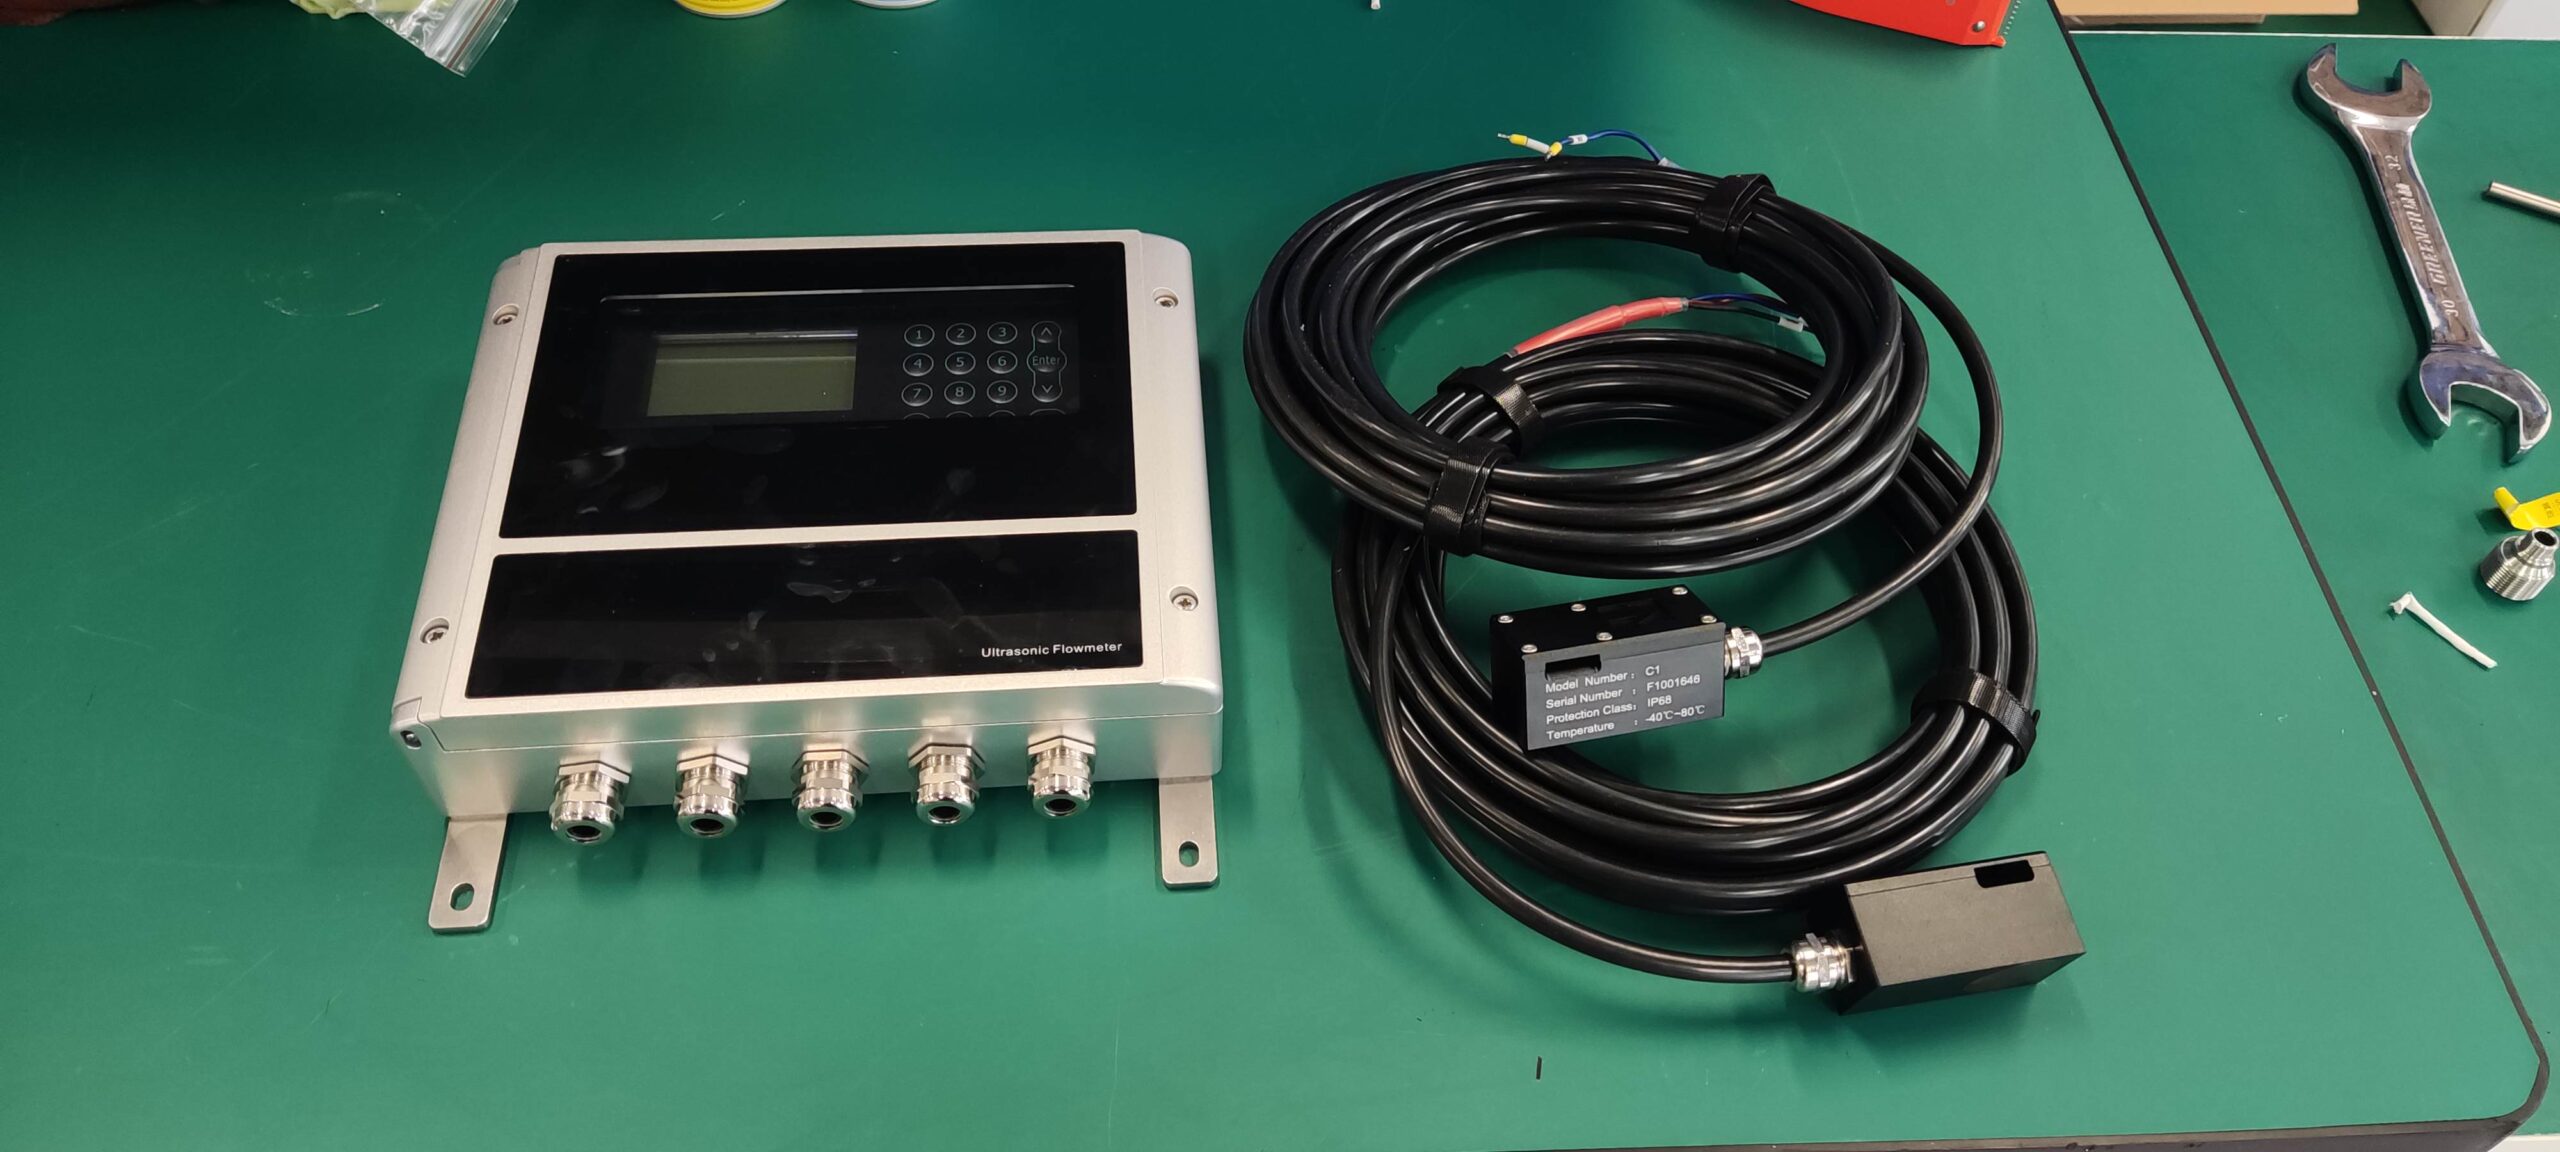
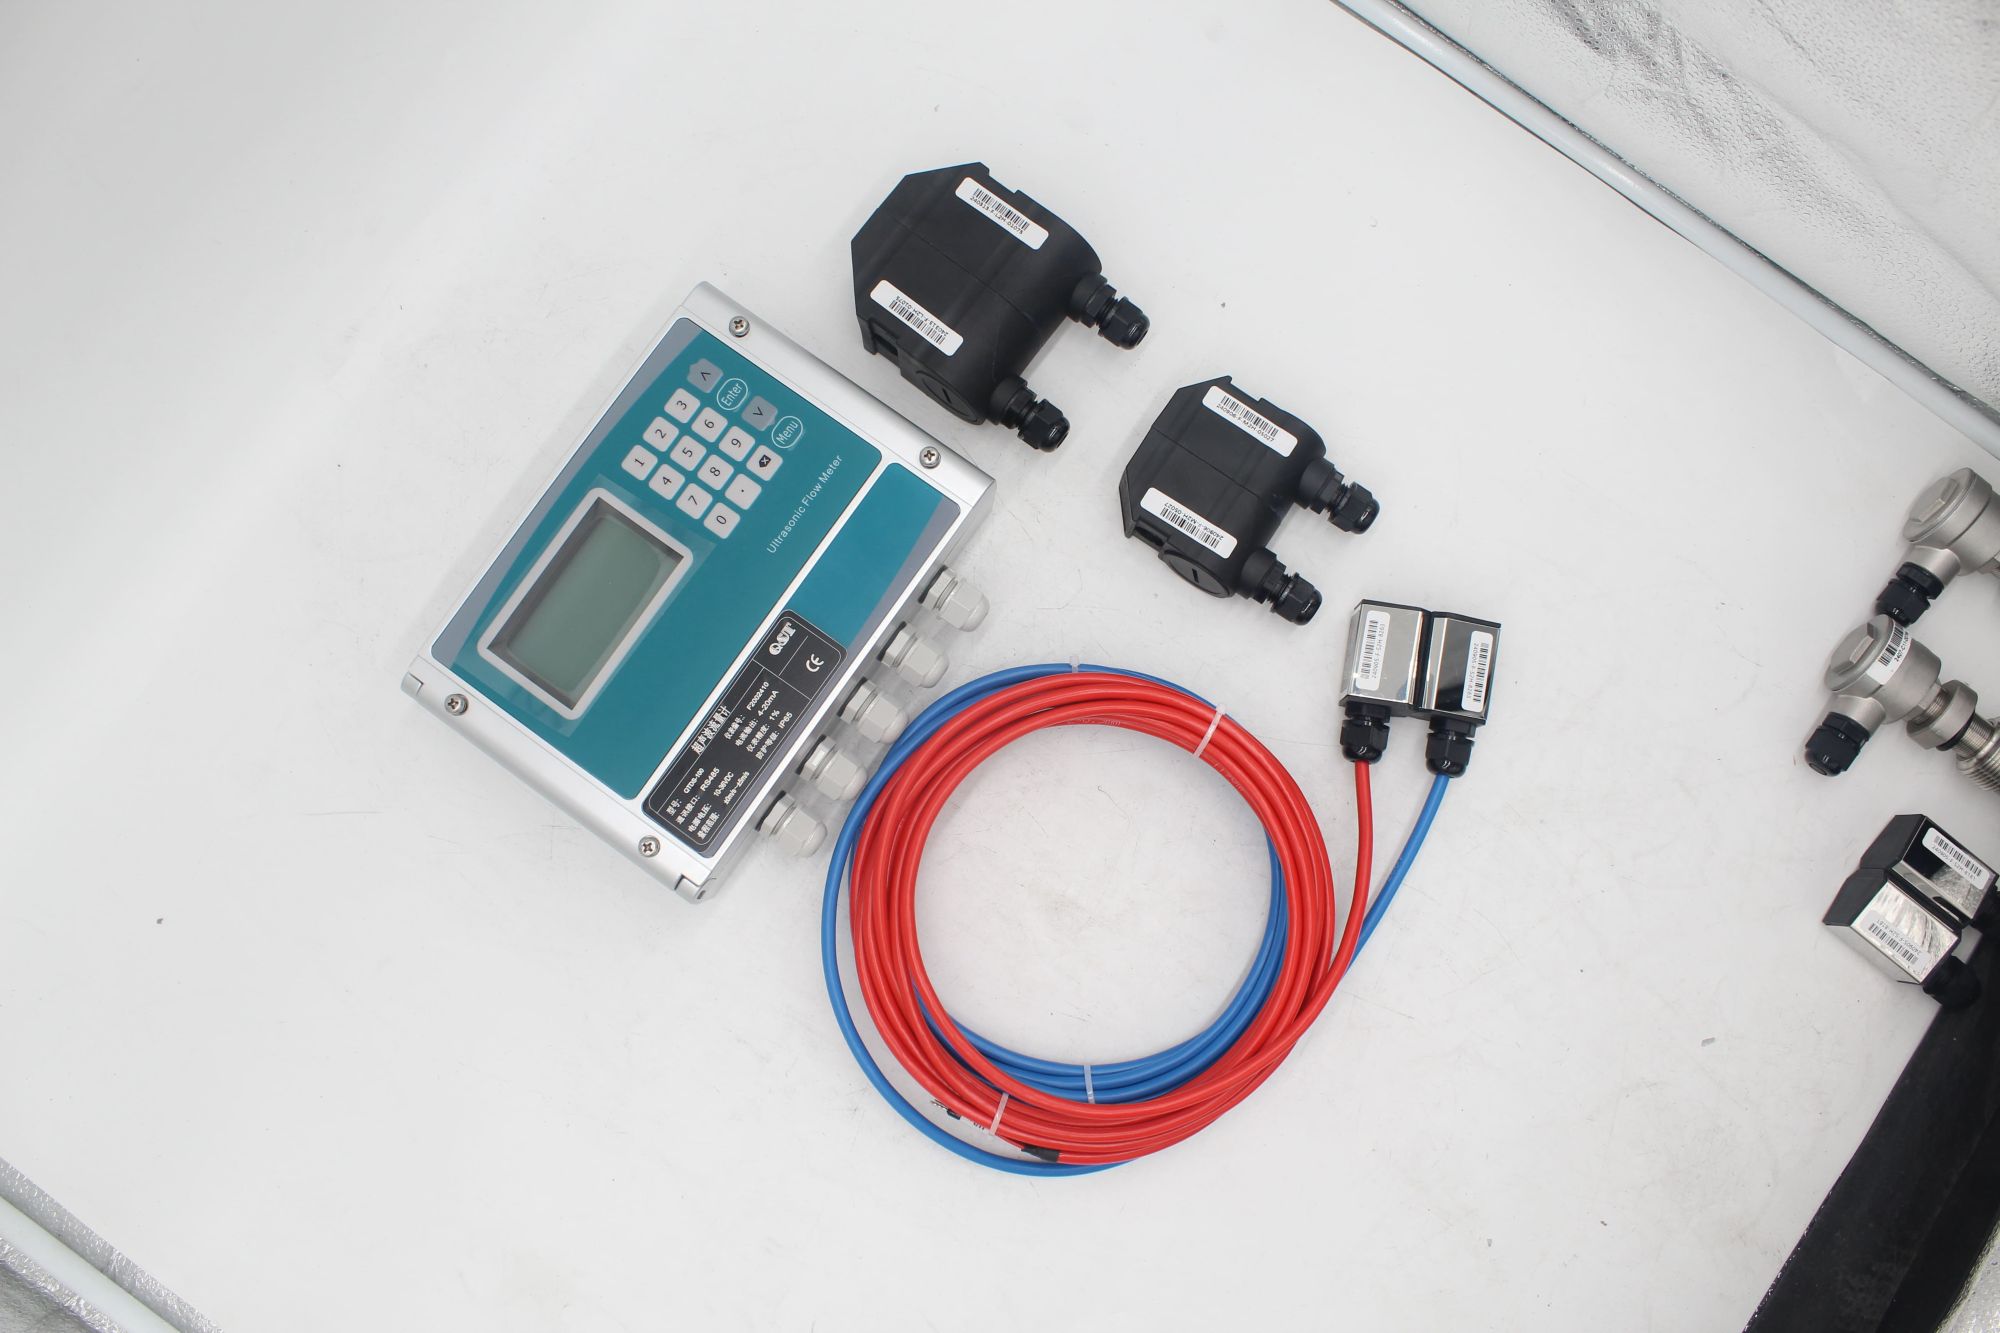
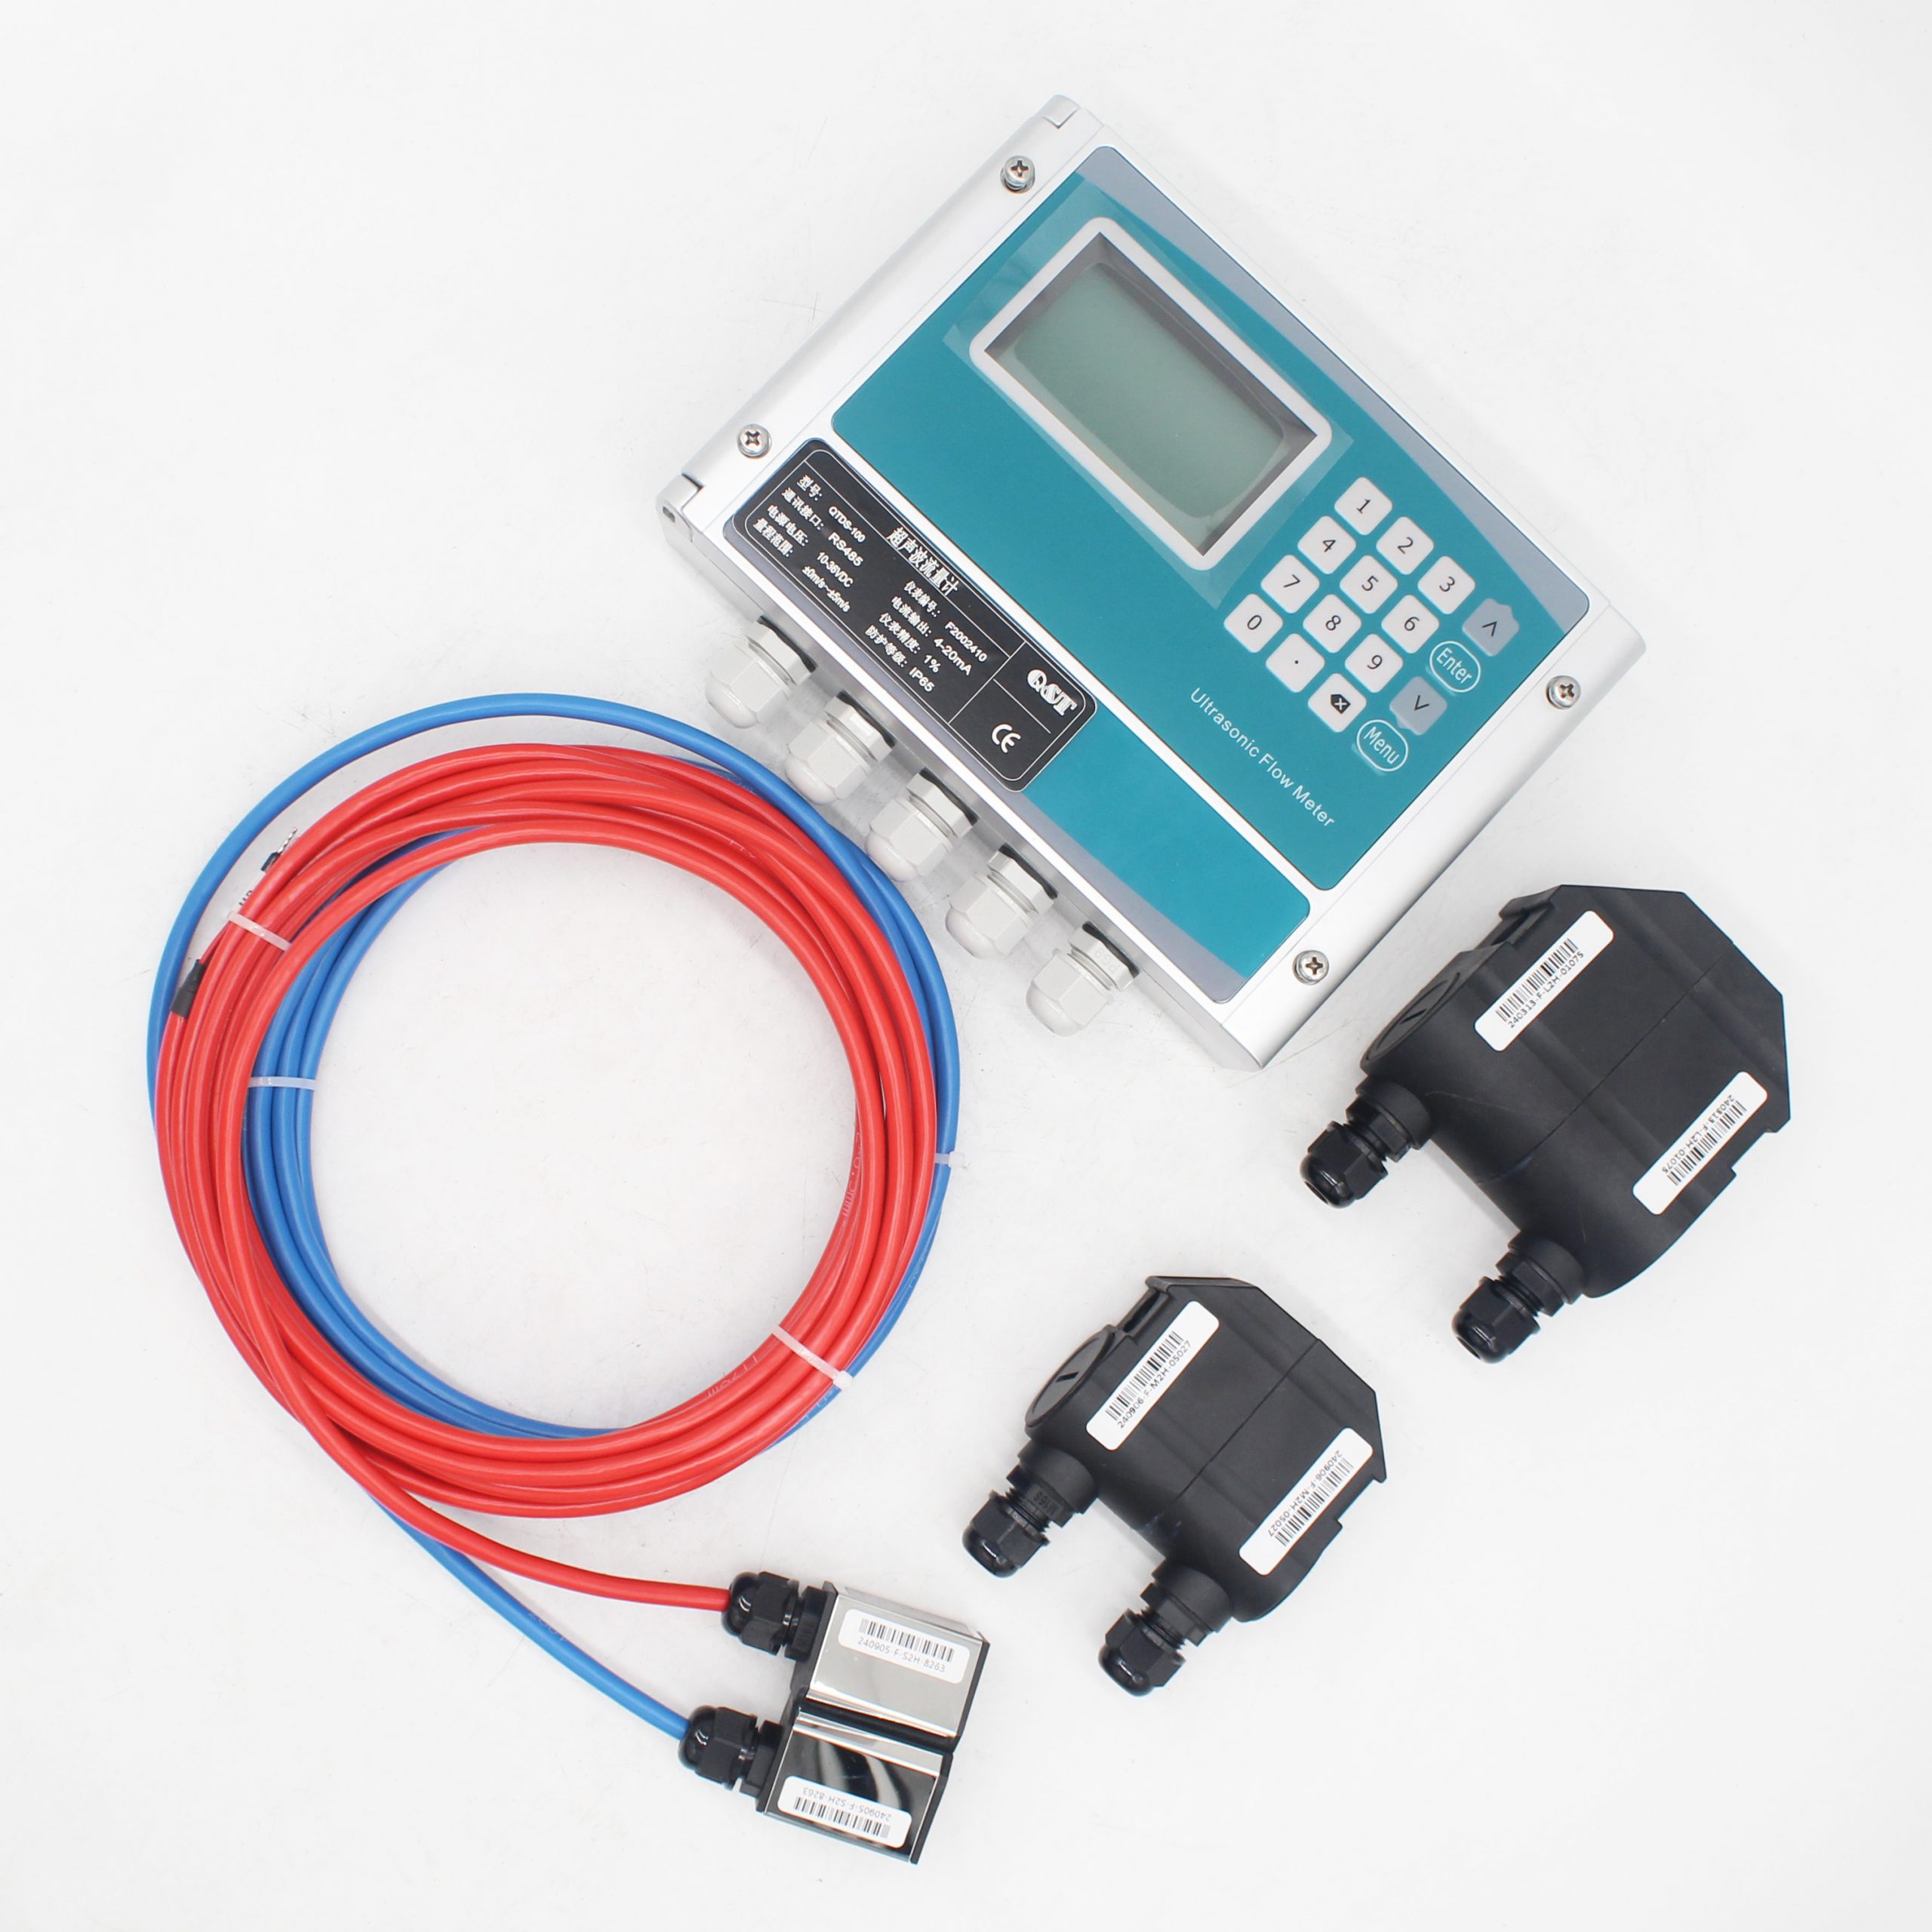
Six, probe and instrument wiring
Seven, fine tune the probe position
After connecting the line, the probe is filled with silicone, placed for half an hour, and then the probe is fixed on the polished pipe with silicone and clamp (pay attention to the direction of the probe, the lead end is outward), and then observe the signal strength of the instrument and the transmission time ratio, if found not good, then slightly adjust the probe position, until the signal of the instrument reaches the specified range:
(Signal strength: generally should be greater than 6, 5, a few can be determined according to the specific situation of the site.)
(Transmission time ratio: Within the range of 100±3, this value must be stable.)
8. Fix the probe
After the instrument signal is adjusted, the probe is fixed with the equipped fixture, be careful not to tilt the wire rope, so as not to pull the probe, so that the probe is shifted, and then use silicone to seal the probe around the contact with the pipeline. The glue takes about one day to set, and the probe must be waterproof before drying.